Do you know how to clean your clarinet?
Regular cleaning and maintenance are essential to keep your instrument in good condition and ensure it produces the best sound possible.
A clean clarinet not only looks better but also plays better. Neglecting to clean your clarinet can lead to a buildup of dirt, grime, and bacteria, which can affect the sound quality and even cause damage to the instrument.

Cleaning your clarinet may seem daunting, but following the proper steps is pretty simple.
In this article, we’ll show you how to clean your clarinet effectively and safely. We’ll cover everything from disassembling your clarinet to cleaning the mouthpiece and reed.
Our step-by-step guide lets you keep your clarinet in top condition and enjoy playing beautiful music for years.
Understanding the Parts of a Clarinet
To effectively clean a clarinet, it's essential to understand its different parts.
Here are the main parts of a clarinet:
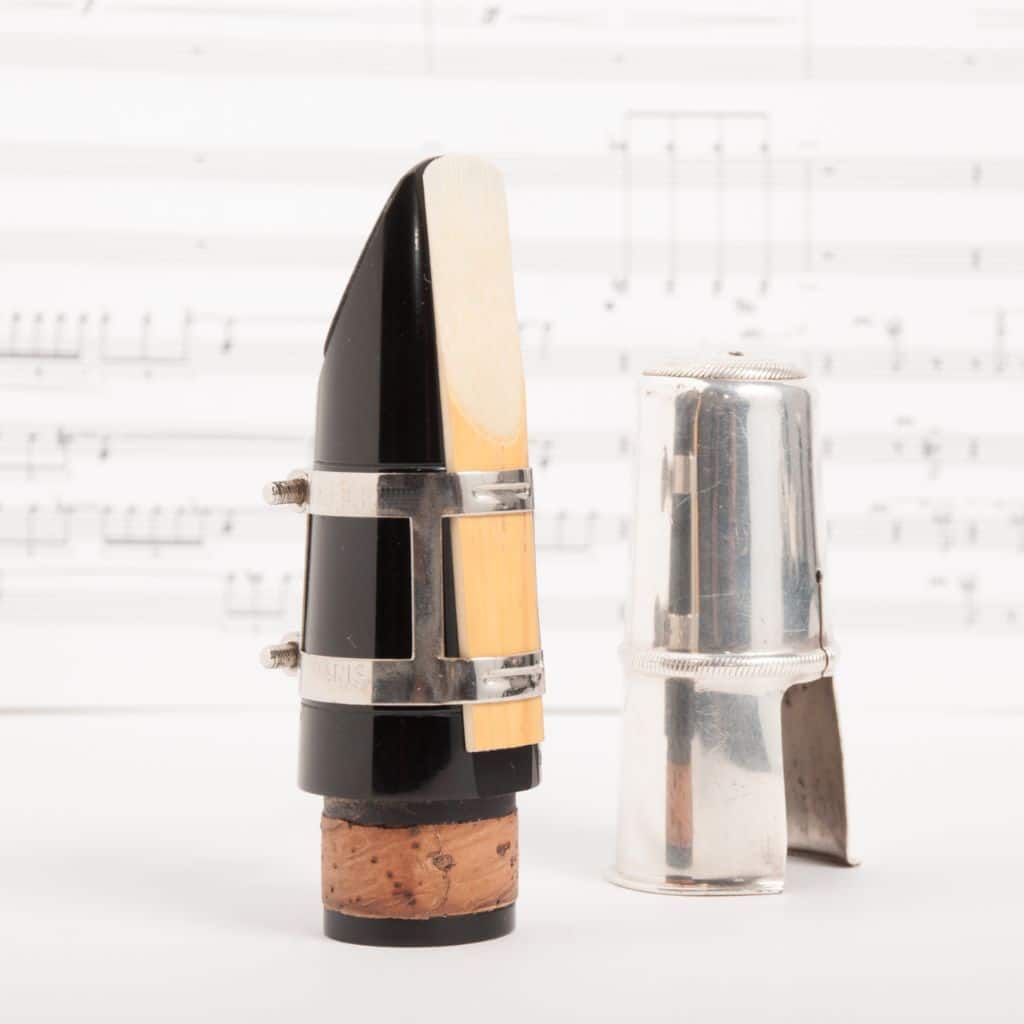
The mouthpiece is where the sound is produced. It consists of a reed, ligature, and the mouthpiece itself. The reed is a thin piece of wood that vibrates when air is blown through it. The ligature holds the reed in place against the mouthpiece.
The barrel is the clarinet part that connects the mouthpiece to the upper joint. It’s a cylindrical piece of wood that can be adjusted to tune the clarinet.
The upper joint is the clarinet section containing the first few keys. It’s connected to the barrel and the lower joint.
The lower joint is the longest section of the clarinet and contains most of the keys. It’s connected to the upper joint and the bell.
The bell is the flared end of the clarinet that amplifies the sound. It’s connected to the lower joint.
The keys and keywork are the metal parts of the clarinet that cover the tone holes and control the airflow. They’re attached to the clarinet’s body and can be delicate and prone to damage.
The corks are the small pieces used to create a tight seal between the different parts of the clarinet. They’re found on the joints and tenons.
The body of the clarinet is the main wooden section of the instrument. It comprises the barrel, upper joint, lower joint, and bell.
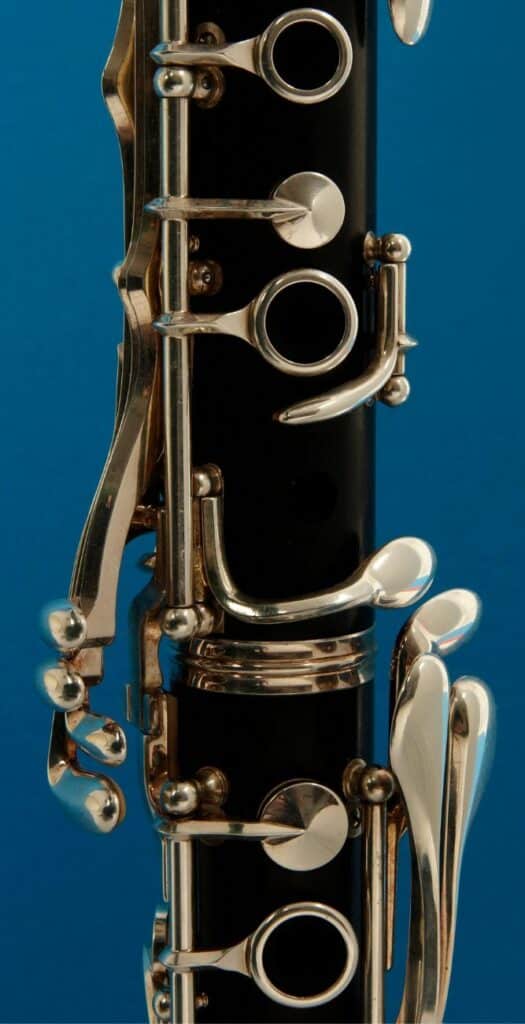
Understanding the different parts of a clarinet is essential for proper cleaning and maintenance. In the next section, we will discuss the steps you can take to deep-clean your clarinet.
Necessary Cleaning Supplies
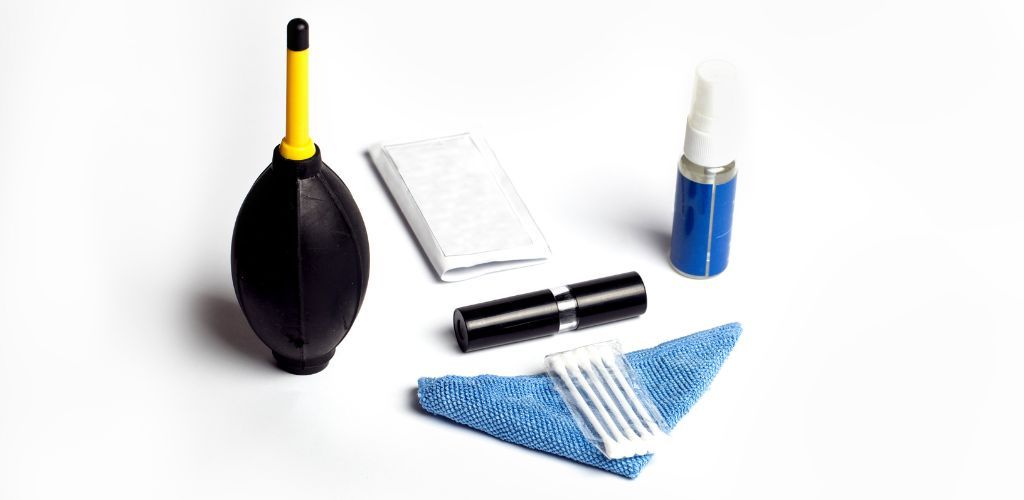
You will need a few essential cleaning supplies to properly clean your clarinet.
Here’s a list of the necessary items:
Clarinet swab: A clarinet swab is a cloth or material used to remove moisture and debris from the inside of the instrument. A pull-through swab is recommended for ease of use.
Cork grease: Cork grease is used to lubricate the cork on the joints of the clarinet. This will help prevent damage to the cork and make it easier to assemble and disassemble the instrument.
Key oil: Key oil is used to lubricate the clarinet’s keys. This will help prevent rust and keep the keys moving smoothly.
Cleaning paper: Cleaning paper is a thin, absorbent paper used to clean the pads of the clarinet. It’s essential to use the correct size of cleaning paper for your instrument.
Microfiber cloth: A microfiber cloth is a soft, lint-free cloth used to clean the exterior of the clarinet. It’s important to use a non-abrasive cloth to avoid scratching the instrument’s surface.
Bore oil: Bore oil is used to lubricate the inside of the clarinet. This will help prevent the wood from cracking and keep the instrument sounding its best.
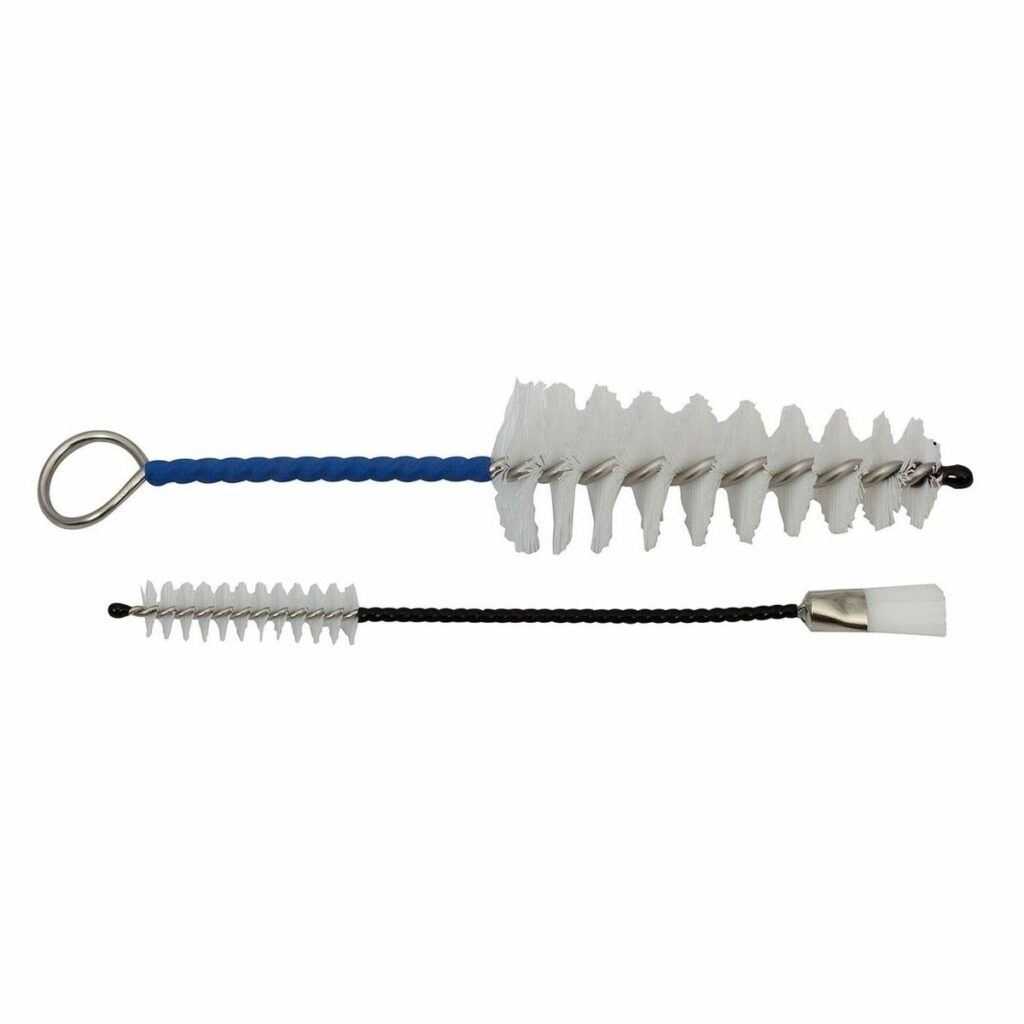
Mouthpiece brush: A mouthpiece brush is a small brush used to clean the clarinet’s mouthpiece. It’s important to use a soft-bristled brush to avoid damaging the mouthpiece.
Cotton swab: A cotton swab can be used to clean hard-to-reach areas of the clarinet, such as the tone holes.
Mouthwash or hydrogen peroxide: Mouthwash or hydrogen peroxide can be used to sanitize the clarinet’s mouthpiece. It’s essential to rinse the mouthpiece thoroughly with water after using these products.
Disassembling Your Clarinet
STEP ONE

To start cleaning your clarinet, you need to disassemble it into five separate pieces: the mouthpiece, barrel, upper joint, lower joint, and bell.
This will allow you to clean each piece thoroughly and prevent any dirt or debris from building up in the instrument.
Before you start disassembling your clarinet, make sure you have a clean, flat surface to work on.
You don’t want to accidentally drop any of the pieces or damage them in any way. Once you have a safe working area, follow these steps to disassemble your clarinet:
Remove the ligature from the mouthpiece. Be careful not to damage the reed or the mouthpiece itself.
Take the reed off the mouthpiece and store it in a reed holder to dry.
Gently twist and pull the mouthpiece away from the barrel.
Remove the upper joint from the lower joint by gently twisting and pulling them apart.
Finally, remove the bell from the lower joint by gently twisting and pulling them apart.
When disassembling your clarinet, be sure to handle each piece carefully. Use your fingertips to avoid transferring oils from your hands to the wood of the clarinet.
Take caution not to bend the keys while taking the clarinet apart.
Once you have disassembled your clarinet, place each piece safely so it will not be damaged. You can then move on to cleaning each piece thoroughly, which we will cover in the next section.
Cleaning The Mouthpiece
STEP TWO
A dirty mouthpiece can build up germs and bacteria, which can cause unpleasant odors and even affect the sound of your clarinet. Here’s how to clean your mouthpiece:

Use a mouthpiece brush to remove any debris or dirt from the inside and outside of the mouthpiece. Be gentle and thorough, getting into all the nooks and crannies.
Use a mixture of water and mouthwash or an antiseptic solution like Sterisol to sanitize the mouthpiece. Be sure to follow the manufacturer’s instructions for the solution you are using.
Cleaning The Body And Keys
STEP THREE

Cleaning the body and keys of your clarinet is a vital part of the deep cleaning process.
To clean the body, use a cleaning swab or a pipe cleaner to remove any excess moisture from the tone holes.
Next, gently scrub the clarinet’s body with a toothbrush or key brush. Be sure to use warm water and mild soap to avoid damaging the wood. You can also use a microfiber cloth to remove dirt or grime.
Once the body is clean, it’s time to move on to the keys. Use a cotton swab or a pipe cleaner to clean in between the keys and around the tone holes.
You can also use a key brush to scrub away any accumulated dirt or grime on the keys. Use a little key oil to lubricate the keys and prevent them from sticking.
After cleaning the body and keys, wiping them down with a polishing cloth is essential to remove any excess oil and moisture. You can also apply a few drops of bore oil to the inside of the bore to keep the wood from drying out.
Maintaining The Corks And Reeds
STEP FOUR
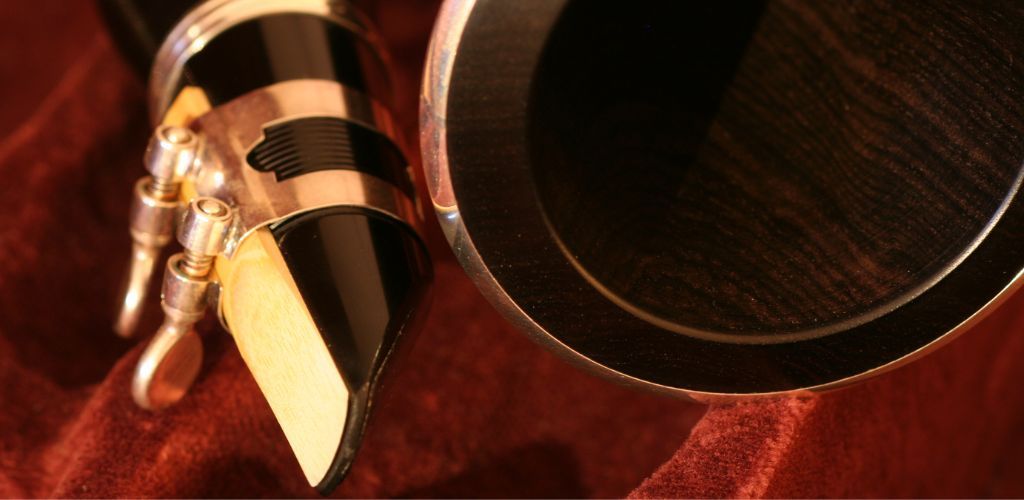
Corks play a crucial role in making sure your clarinet is airtight. Over time, they can become dry and brittle, which can cause air leaks and affect the sound quality of your instrument.
To keep your corks in good condition, you should:
Apply cork grease regularly to keep them lubricated and prevent them from drying out.
Avoid touching the corks with your fingers, as the oils from your skin can cause them to deteriorate faster.
Store your clarinet in a dry place to prevent moisture from causing the corks to swell or shrink.
Reeds are the most delicate part of your clarinet and require special care to ensure they last longer.
Here are some tips to help you maintain your reeds:
Always use a reed holder to store your reeds after playing. This will help them dry out evenly and prevent bacteria from growing on them.
Clean your reeds regularly with a soft cloth to remove any moisture or dirt that may have accumulated on them.
Avoid using your teeth to adjust the reed, as this can cause it to warp or break.
Apply a thin layer of lip balm to the reed before playing to prevent it from drying out too quickly.
Polishing Your Clarinet
STEP FIVE
A shiny, polished clarinet looks good and helps prevent tarnishing and corrosion. Here are some tips on how to polish your clarinet:
Use a Polishing Cloth
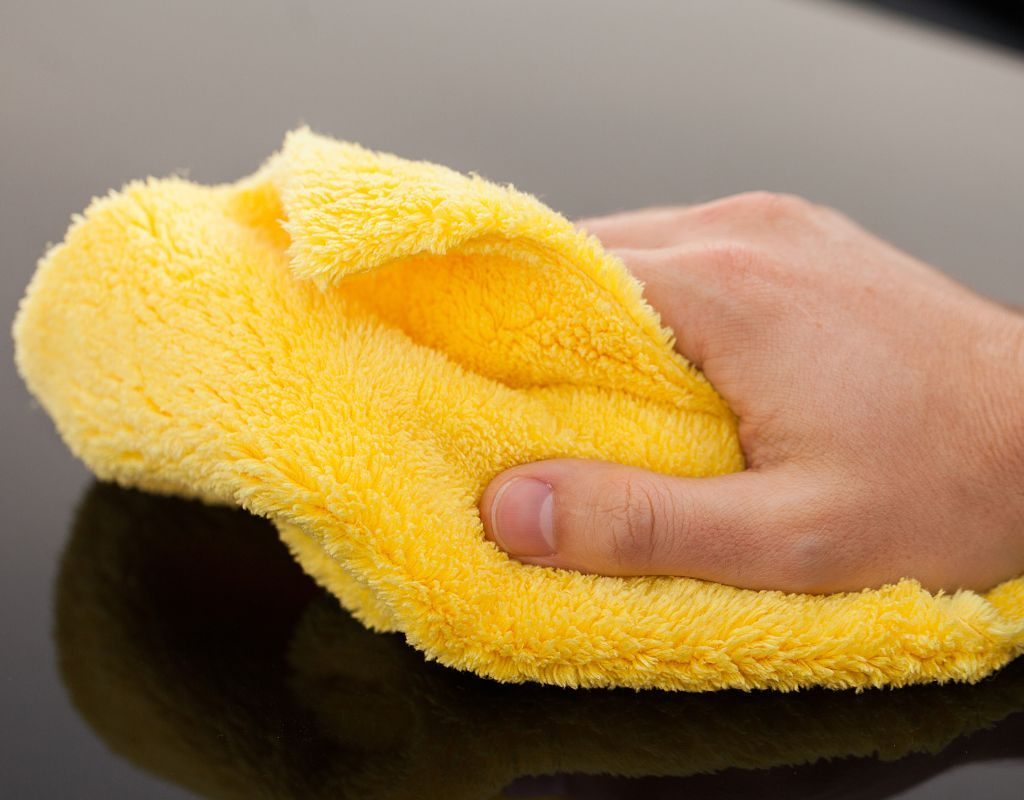
A polishing cloth is a soft cloth made of microfiber or cotton used to wipe down the body of your clarinet.
Using a cloth specifically designed for polishing instruments is important to avoid scratching or damaging the surface.
Gently wipe down the body of your clarinet with the polishing cloth to remove any fingerprints or smudges.

Pay Attention to the Keys
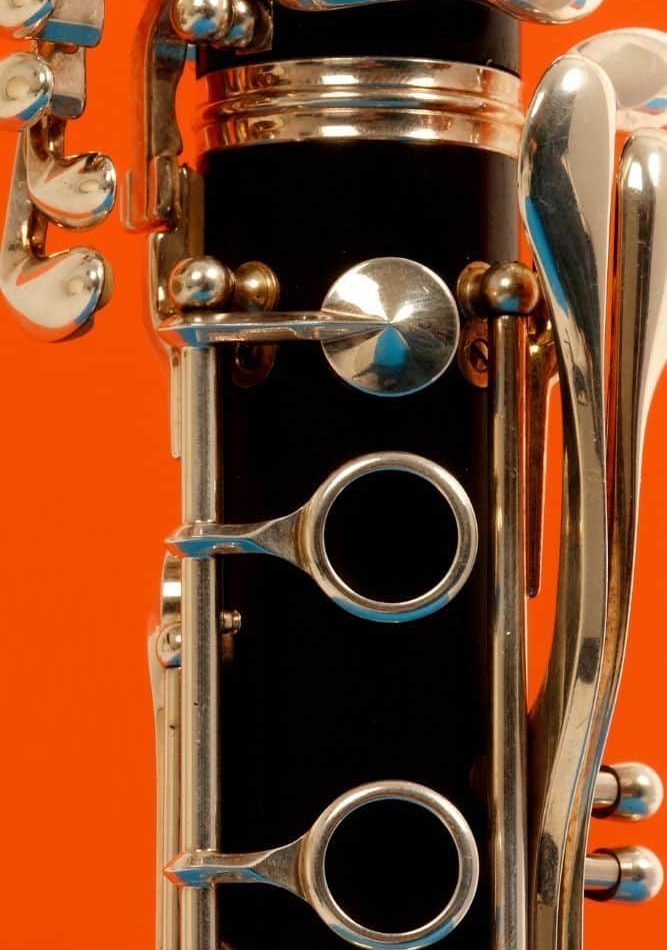
The keys of your clarinet are prone to tarnishing and corrosion, so it’s important to polish them regularly.
Use a silver cloth to gently polish the keys, careful not to scratch or damage them. If you notice any stubborn tarnish, you can use a small amount of silver polish on a soft cloth to remove it.
To clean the keypads, simply place a piece of cleaning paper between the keypad and the hole and press it several times, moving the paper each time until the key no longer leaves a mark on the paper.
An especially sticky key may need powder paper (used in the same manner) to function properly.
Don't Forget About Your Fingers
Your fingers can leave oils and dirt that can build up on your clarinet over time.
To prevent this, wipe down the keys and body of your clarinet with a soft cloth after each use.
This will help keep your clarinet looking and sounding its best.

Avoid Over-Polishing
While it’s important to polish your clarinet regularly, over-polishing can do more harm than good.
Too much polishing can wear away the protective coating on the surface of your clarinet, leaving it vulnerable to tarnishing and corrosion.
So, be sure to polish your clarinet carefully and only as often as necessary.
Reassembling And Storing Your Clarinet
STEP SIX

Now that you have completed cleaning your clarinet, it’s time to reassemble it and store it safely.
Follow these simple steps to ensure your clarinet stays in top condition:
Carefully attach the barrel and the upper joint. Ensure the bridge keys are aligned and the tenon corks are properly greased before attaching the joints.
Attach the lower joint and align the bridge key with the upper joint.
Gently twist and push the bell into the lower joint until it is secure.
Check all the keys and make sure they are in the correct position.
Wipe down the exterior of the clarinet with a soft cloth to remove any moisture or fingerprints.
Store your clarinet in a protective case to prevent any damage. Make sure the case is clean and dry before storing your clarinet.
Avoid storing your clarinet in extreme temperatures or humidity, as this can cause damage to the instrument.
To prevent moisture buildup inside the clarinet, use a swab to remove any excess moisture after playing. You can also use a moisture control product like Sterisol sanitizing spray to keep the inside of your clarinet clean and dry.
If you need to clean your clarinet case, use mild dish soap or liquid hand soap and a soft cloth to wipe down the interior and exterior of the case. Make sure the case is completely dry before storing your clarinet in it.
The Best Clarinet
Cleaning Set
Pull-through cleaners are an excellent design for clarinets. They have a weighted string and are usually made of micro-fire material, so they do not shed any fluff inside the instrument.
Our recommended product comes as a set of two cleaners – one for the main body of the clarinet and a smaller one for the mouthpiece.
Artie London Clarinet Pull-Through set
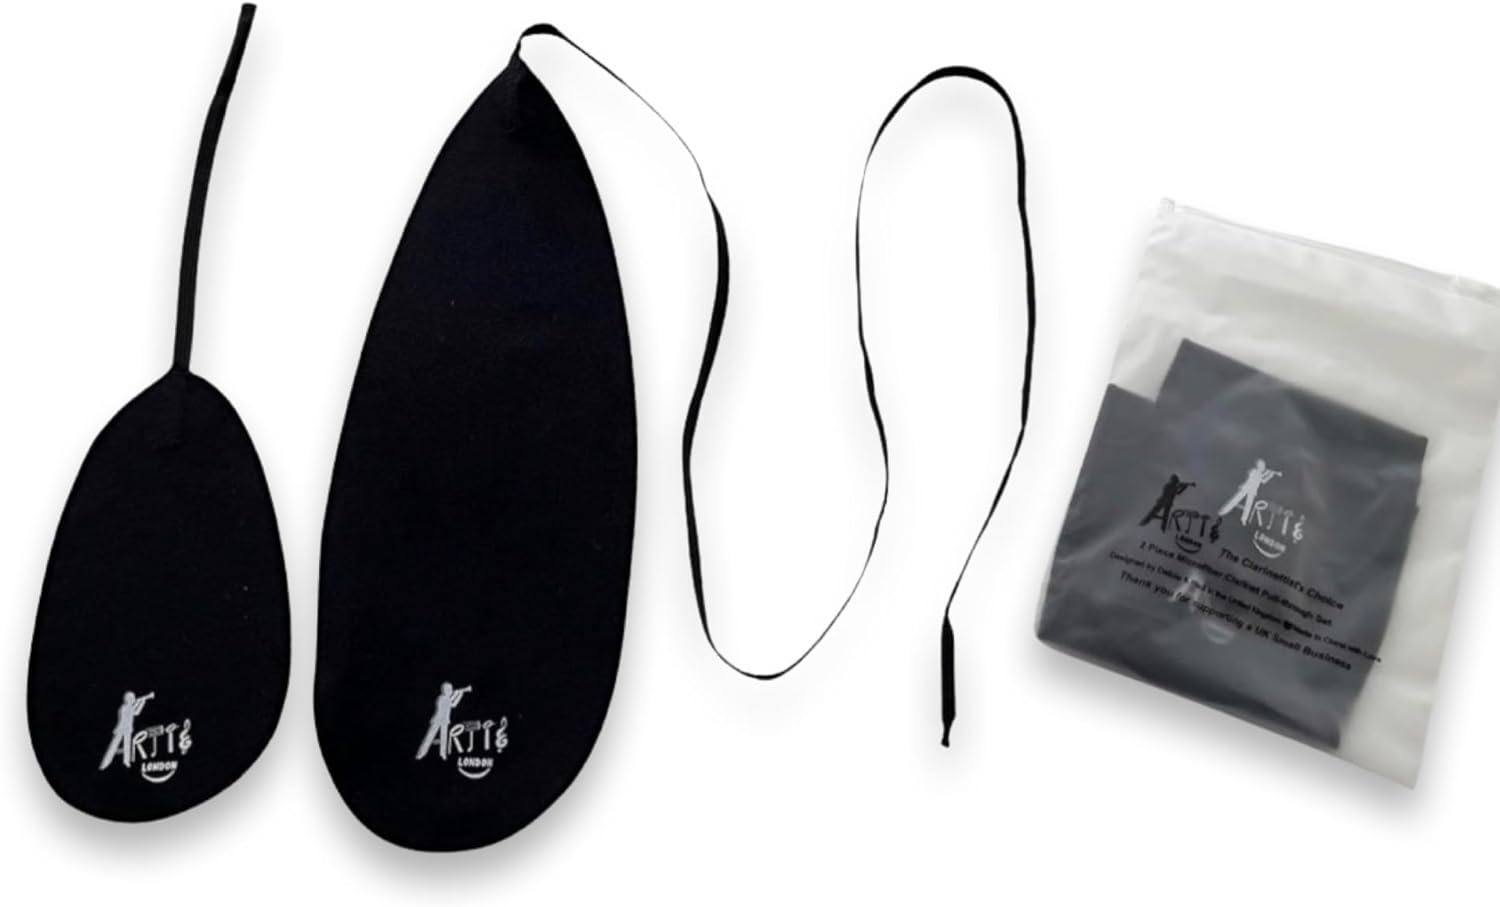
FEATURES: Supplied in a pouch to protect the clarinet from excess moisture
OTHER INFO: Generous ribbon length, able to clean your clarinet in one smooth motion
- Microfibre material so no danger of shedding.
- Smaller cleaner, specifically for cleaning the mouthpiece.
- None!
When you click ‘Check Price’, you’ll see there are loads of great places to buy this item. Our personal favorite is Sweetwater for the US, and Thomann and Gear4Music for the UK & Europe.
They are the largest music retailers, with excellent customer service, competitive prices, really fast shipping, and the longest guarantees.
The professional musician who wrote this article combined many things,
from the product build, manufacturer’s reputation through to feedback
from other users, to create our famous TedScore™.
How to Clean A Clarinet:
Key Takeaways

Cleaning your clarinet can be a bit of a hassle, but with a positive attitude and the right tools, it can be a fun and rewarding experience.
Not only will you be taking care of your instrument, but you’ll also be improving your playing experience.
So keep up the good work, and remember to clean your clarinet regularly to keep it in top shape.
Your audience will thank you for it!
Wait, there’s more!
From reeds to ligatures to cleaning supplies, we’ve got everything you need to take your playing to the next level, and have a blast doing it!
Don’t settle for mediocrity; upgrade your clarinet game by checking out this next article: 18 Clarinet Accessories – Our Ultimate List
FAQ's
Washing a clarinet with water is not recommended as it can damage the instrument. Instead, it’s recommended to use a clarinet swab to clean the inside of the instrument and a soft cloth to wipe down the outside.
No, cleaning a clarinet with soap is not recommended, as it can leave residue inside the instrument and cause damage. Instead, you can use a clarinet swab and a small amount of rubbing alcohol to clean the inside of the instrument.






While I agree with most of what Kymia Kermani outlined, I’m a bit skeptical about the section on reassembling and storing your clarinet. It’s crucial to stress the importance of handling the keys gently. I’ve seen too many students bend keys out of laziness or haste. Also, storing the clarinet properly to avoid any moisture build-up is just as important as the cleaning process itself.
polishing my clarinet made it shine like its brand new! super cool advice.
while i get the gist of disassembling and cleaning, I’m not sure I agree with the methods listed here. there are safer ways to handle the keys to avoid damage. it’s important to consider the age and make of your clarinet before diving into a one-size-fits-all approach.
That’s a valid point. I usually recommend a tailored approach to my students depending on their instrument’s condition and value. Maybe Kymia Kermani could add a section on assessing your clarinet’s specific needs.
I always have trouble with the corks when I’m reassembling my clarinet. Anyone else?
anyone tried a different polishing cloth than what’s recommended here? the one suggested seems a bit pricey but wanna keep my gear in top shape. thoughts?
hey about polishing the clarinet, is there a specific cloth brand you recommend? got mixed results before and i wanna get it right. cheers.
JazzMan91, typically, a microfiber cloth works best for polishing clarinets. Avoid anything too abrasive to not damage the finish. Some brands sell cloths specifically designed for woodwind instruments, which might give you consistent results.
really love the breakdown on cleaning the body and keys, didn’t know you could do it so thoroughly at home. gonna try this weekend, thanks Kymia !
Loved the section on maintaining the corks and reeds! Made my clarinet sound way better. Thanks, Kymia Kermani for the tips!