Best
Flute For
Beginner
-
Overall: With Genesis head joint
-
Best Feature: Upgraded mouthpiece with a wide riser angle
-
TedScore™: 8/10
Best
Overall
Flute
-
Overall: A Durable Body That Can Last For Years
-
Best Feature: It Can Handle Almost Anything You Put It Through
-
TedScore™: 8/10
Best
Budget-friendly
Flute
-
Overall: Closed-hole flute - easier for beginner
-
Best Feature: Nickel Silver Body
-
TedScore™: 8/10
Learning how to put flute together is the first step to creating beautiful melodies, and it’s easier than you might think!
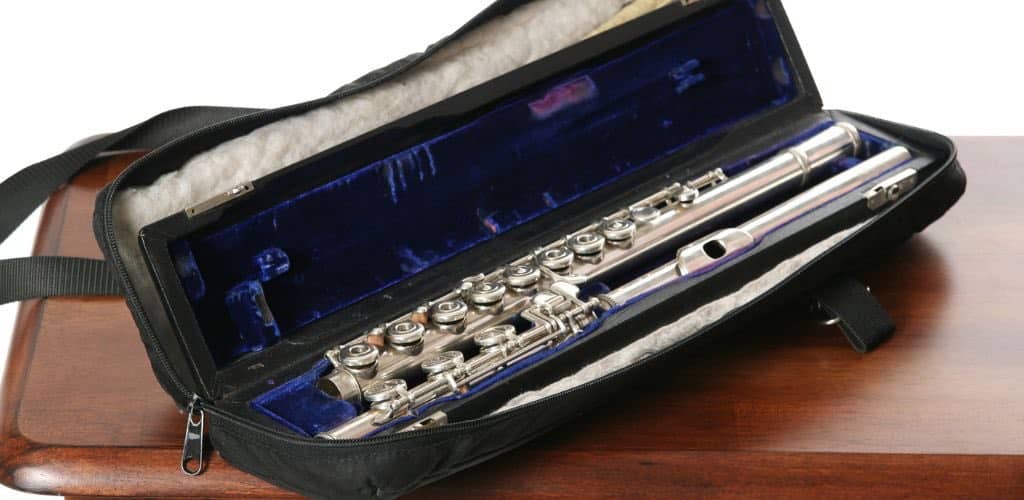
In this article, we’ll guide you through the simple process of assembling your flute, from connecting the body to fitting the head joint just right. You’ll discover handy tips and tricks for ensuring your instrument is ready to play so you can focus on what really matters: making music!
Let’s explore and get your flute ready for its debut performance!
Understanding Your
Flute Parts

Before we begin the assembly process, let’s familiarize ourselves with the flute’s different parts.
A standard concert flute consists of three main sections: the headjoint, the body, and the foot joint. Each part plays a crucial role in producing sound and knowing them will make assembly a breeze.
The Headjoint
The headjoint is where the magic begins. This is the part of the flute where you blow air to create sound, and it contains the embouchure hole.
Your lips will form a seal around this hole to produce those lovely notes.
The Body
Next, we have the body of the flute.
This is the longest section, housing the majority of the keys and tone holes. The body is where you’ll spend most of your fingerwork while playing.
The Footjoint
.Finally, there’s the footjoint.
This smaller section is attached to the end of the body and contains a few extra keys. The footjoint allows you to play lower notes, extending the flute’s range.
Step-by-Step Assembly
Now that you’re familiar with the parts of your flute, let’s get down to the nitty-gritty of putting it together!

Follow these steps, and you’ll be ready to play in no time.
Prepare Your Flute
Before you start assembling, find a clean, flat surface to work on.
Make sure your hands are clean and dry to avoid getting oils or dirt on the flute. It’s also a good idea to have a soft cloth nearby to wipe down any parts as needed.
Assemble the Head joint
Start by taking the head joint and gently twisting it into the flute’s body. Align the embouchure hole with the keys on the body, ensuring that they face the right direction.
Be careful not to force the connection, as this could damage the flute.
Attach the Body
Next, take the body and connect it to the foot joint.
Again, gently twist the foot joint into the end of the body until it fits snugly. Make sure the keys on the foot joint align correctly with those on the body for smooth operation.
Check for Alignment
Once everything is assembled, take a moment to check the keys’ alignment.
They should all be positioned correctly and not obstructed by any other parts. If something seems off, gently twist the sections to readjust them.
Final Touches and Maintenance
Now that your flute is assembled, it’s time for a few final touches to ensure everything is in tip-top shape.
Check for Moisture
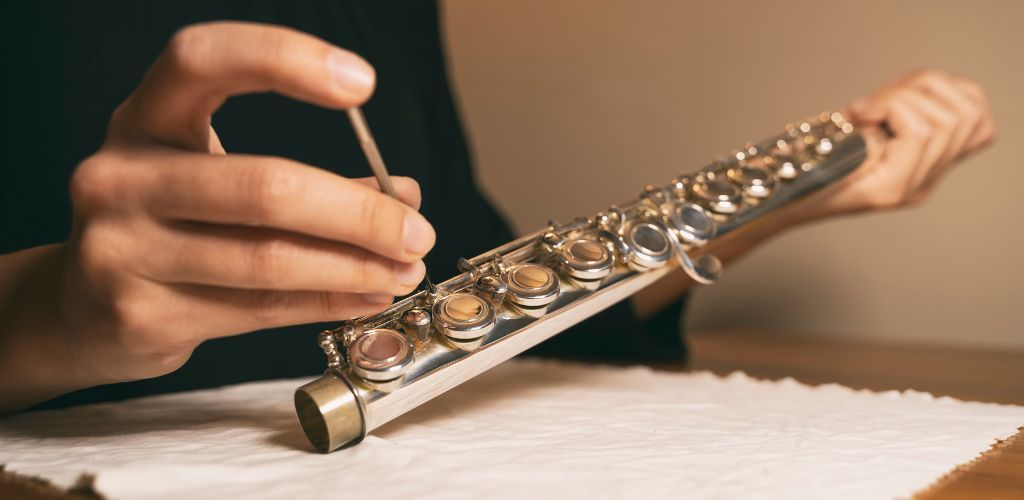
Before you start playing, check for moisture in the head joint. If necessary, wipe it down with a soft cloth or a cleaning rod.
Keeping your flute dry is essential for maintaining sound quality and preventing damage.
Regular Maintenance

Remember, regular maintenance is key to keeping your flute in excellent condition.
After each playing session, wipe down the exterior with a soft cloth to remove fingerprints and moisture. Consider investing in a cleaning kit to help you keep the inside of the flute clean as well.
Flute Recommendations
Yamaha YFL222

DESIGNED FOR: new players looking for a good flute
FEATURES: a durable body that can last for years
OTHER INFO: it can handle almost anything you put it through
Yamaha YFL222
- Nickel silver with silver plating
- Good price
- Easy to play
- Nice response
- No split E
- Not for young children
When you click ‘Check Price’, you’ll see there are loads of great places to buy this item. Our personal favorite is Sweetwater for the US, and Thomann and Gear4Music for the UK & Europe.
They are the largest music retailers, with excellent customer service, competitive prices, really fast shipping, and the longest guarantees.
The professional musician who wrote this article combined many things,
from the product build, manufacturer’s reputation through to feedback
from other users, to create our famous TedScore™.
Stagg FL111 Flute
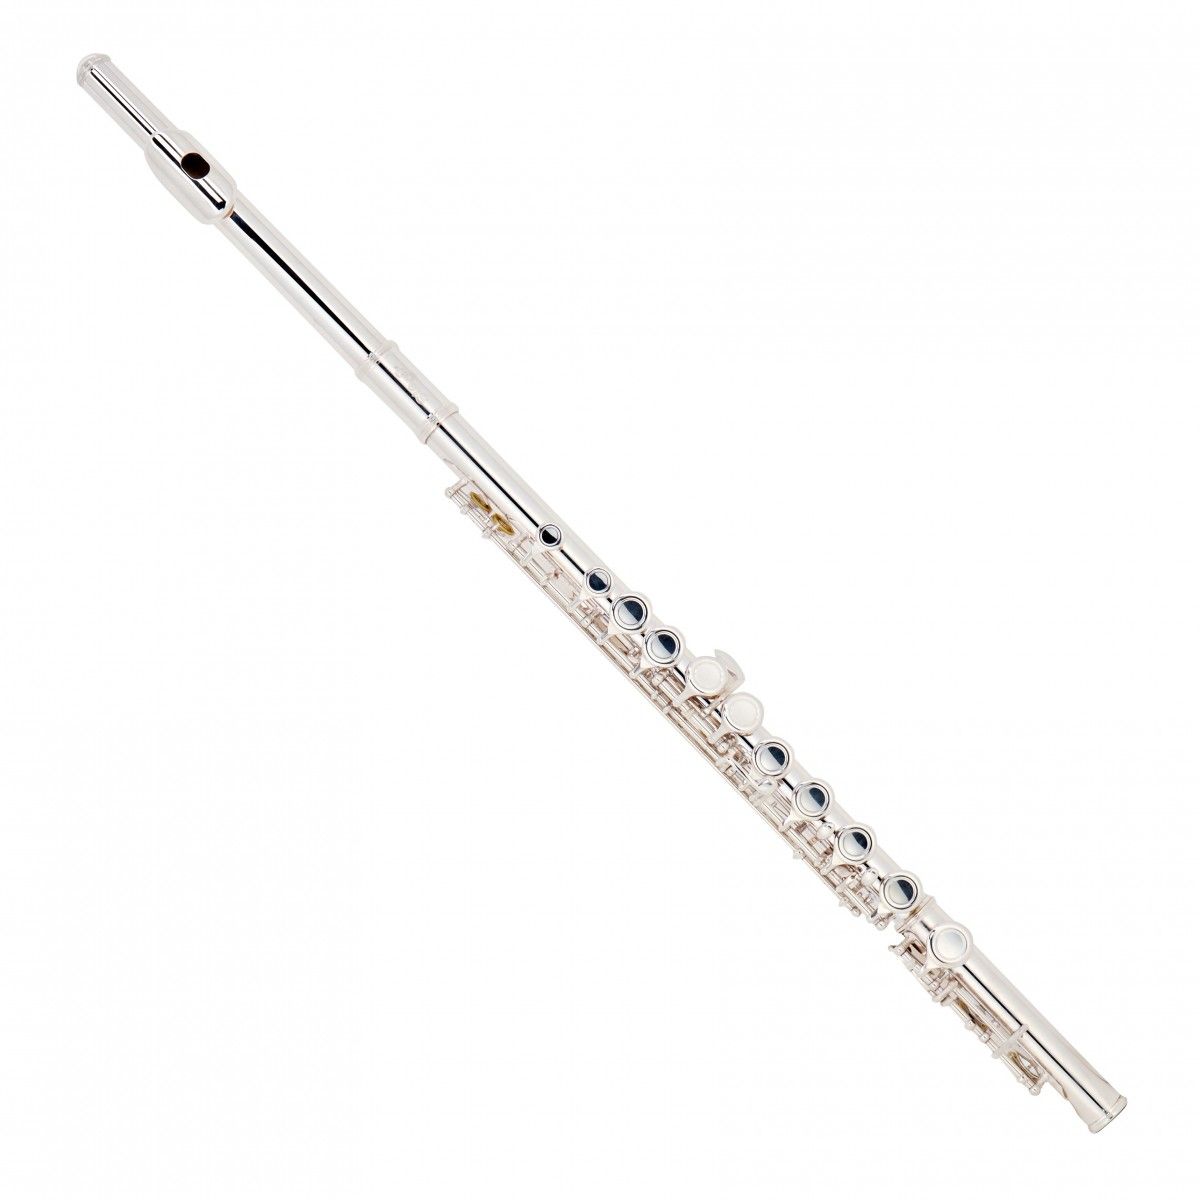
FEATURES: Closed-hole flute - easier for beginner
OTHER INFO: Nickel Silver Body
- Cost-effective
- Offset G for extra ergonomic design
- It may not be as durable as advanced flute
When you click ‘Check Price’, you’ll see there are loads of great places to buy this item. Our personal favorite is Sweetwater for the US, and Thomann and Gear4Music for the UK & Europe.
They are the largest music retailers, with excellent customer service, competitive prices, really fast shipping, and the longest guarantees.
The professional musician who wrote this article combined many things,
from the product build, manufacturer’s reputation through to feedback
from other users, to create our famous TedScore™.
Jupiter JFL700REC Flute
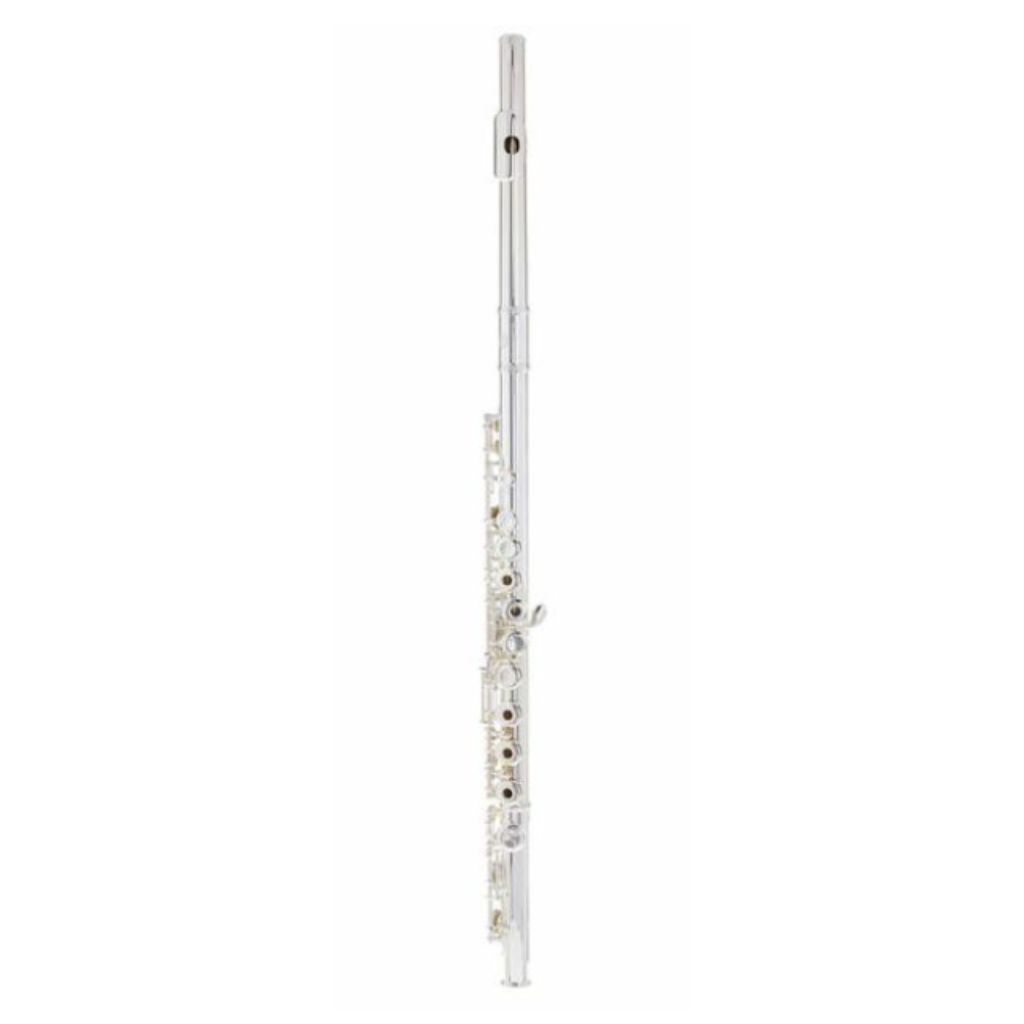
FEATURES: With Genesis head joint
OTHER INFO: Upgraded mouthpiece with a wide riser angle
- Includes a French case and cover so you're ready to travel
- Maintenance Needs
When you click ‘Check Price’, you’ll see there are loads of great places to buy this item. Our personal favorite is Sweetwater for the US, and Thomann and Gear4Music for the UK & Europe.
They are the largest music retailers, with excellent customer service, competitive prices, really fast shipping, and the longest guarantees.
The professional musician who wrote this article combined many things,
from the product build, manufacturer’s reputation through to feedback
from other users, to create our famous TedScore™.
Overview:
How to put Flute Together
When learning how to put the flute together the correct way, start by removing it from the flute case and inspecting the lip plate for any dust or debris.

Gently twist the two joints together, ensuring that you apply joints ease to avoid damaging the instrument. As you connect the head joint to the body, make sure the embouchure hole aligns with the first key, allowing for optimal sound production.
Position the flute so that your left hand is over the keys, while your lower lip rests comfortably on the lip plate. Using a twisting motion, secure the joints gently, and finish by wiping down the flute with a silver cloth to keep it looking pristine.
These steps are essential for successful flute lessons and will help you play with confidence! Happy playing, and may your flute always be in tune!
Before you go…
If you’re a student looking to find the perfect flute, check out the “Best Flute Brands for Students” to discover top-quality options that suit your needs and budget!
FAQ's
To assemble your flute, gently twist the headjoint into the body, then attach the footjoint to the body, ensuring all keys are properly aligned.
To join a flute, carefully align and twist the headjoint into the body, followed by attaching the footjoint to the end of the body, ensuring all keys are properly aligned.
Your flute may be hard to put together due to misalignment of the sections, dirt or debris in the joints, or excessive tightness from not being assembled correctly previously.
To assemble a concert flute, gently insert the headjoint into the body, ensuring the embouchure hole aligns with the keys, and then attach the footjoint to the end of the body while checking that all keys are properly aligned.






I guess I’ll give this whole flute assembly a shot, though I’m still not convinced it’s as simple as you make it seem, Chloë Vincent. Feels like there’s always something ready to go wrong with delicate instruments like these. Let’s see if I end up in the ‘successful assembly’ group or the ‘oops, it broke’ club.
You know, putting a flute together kinda feels like trying to assemble a high-end, super fragile puzzle that can get dented if you look at it funny. I had to learn the hard way when I first started out, which is why I giggled through the Step-by-Step Assembly part. Could have used that guide back then! Props to Chloë Vincent for not making it as terrifying as my band director’s ‘If you breathe on it wrong, it will never play right again’ speech. Now, if only someone could write an article on how to assemble my social life as meticulously, that’d be great.
I’ve taught clarinet for years, and I find the similarities in assembly with the flute quite fascinating.
hey, so about the part where you talked about assembling the headjoint to the body… do ya have any tips for making sure i don’t damage it while putting it together? i’m kinda worried since my hands are shaky, and i really don’t wanna mess up my new flute. Also, huge thanks to Chloë for breaking it down, made it way less intimidating for a newbie like me!
felt the same way lol, just go slow and you’ll be fine.
Hi FluteyMcFluteFace! It’s all about being gentle. Hold the body in one hand and the headjoint in the other, and carefully twist them together without forcing. You got this!