Best
Durable beginner Violin
-
Overall: The top is made from carved, solid spruce
-
Best Feature: The violin is finished in gold-brown varnish
-
TedScore™: 8/10
Best
Overall Beginner Violin
-
Overall: Wittner tailpiece with four built-in fine tuners
-
Best Feature: Hand-carved spruce top and maple back and sides
-
TedScore™: 9/10
Best
Budget Beginner Violin
-
Overall: Hand-carved spruce and maple wood
-
Best Feature: Equipped with D’Addario Prelude Strings
-
TedScore™: 7/10
With my years of professional experience, plucking the strings on a violin, also known as “pizzicato,” adds a delightful twist to any musical performance.
The technique infuses a percussive flair into the melody, creating a playful contrast to the sustained notes produced through bowing.
When mastering pizzicato, I vividly recall the challenge of delicately plucking the strings with my right index finger, aiming just above the fingerboard’s end towards the scroll.
It’s a skill that takes time and practice all the ways to perfect, but the journey is as rewarding as the destination.
Venturing into the world of violin plucking unlocks new avenues for musical expression and unveils a captivating dimension of violin artistry.
So, grab your instrument and let each plucked note whisk you into a realm of boundless creativity and whimsy!
Basics of Plucking Strings
Understanding Pizzicato

First, pizzicato is the term for plucking strings on a violin. It’s a fantastic technique that adds variety to your playing, especially when you’re looking to create a unique sound.
Playing pizzicato is quite common in orchestral repertoire, allowing violinists to explore various genres (like classical music) and styles.
In Johann Strauss II’s Pizzicato Polka and Benjamin Britten’s Playful Pizzicato in the Simple Symphony, the bowed instruments perform pizzicato throughout the piece, showcasing a unique and consistent use of this technique.
Plucking Technique Fundamentals
Firstly, using your right hand for this technique is essential, as your left hand is responsible for finger placement on the fingerboard.
- Fingers: Normally, you should use your right index finger for plucking, using the pad (flesh) of your finger, not the nail. The thumb can provide support by gently touching the side of the fingerboard.
Here’s a step-by-step breakdown of the plucking process:

STEP 1
Position your right hand close to the end of the fingerboard, about an inch and a half higher (closer to the scroll).
STEP 2
Gently pluck the desired string using the pad of your index finger, making sure not to use your fingernail.
STEP 3
Ensure your left hand remains relaxed throughout the process, focusing on finger positions for the melody.
By following these fundamentals of plucking techniques, you’ll be on your way to mastering pizzicato and adding a unique touch to your violin playing.
String Anatomy and Tuning
Plucking Technique Fundamentals
When it comes to the violin, four strings play a crucial role in its unique sound:
G3
D4
A4
E5
You can remember the order of these strings by using the mnemonic “Good Dogs Always Eat” (from lowest to highest).
Proper Tuning for Optimal Sound
Proper tuning is essential for achieving the best sound possible from your violin. As mentioned in the previous tip subsection, each string should be tuned to its pitch.
The strings should be tuned in perfect fifths – G3, D4, A4, and E5. When you have these tuned correctly, your open strings will emit the perfect harmony.
Here is a quick step-by-step guide to tuning your violin:
Use a tuner to assist in achieving accurate pitches. You can use a physical tuner or an app on your smartphone.
Begin by tuning the lowest string, G3.
Move on to the D4, A4, and E5 strings, constantly referencing your tuner.
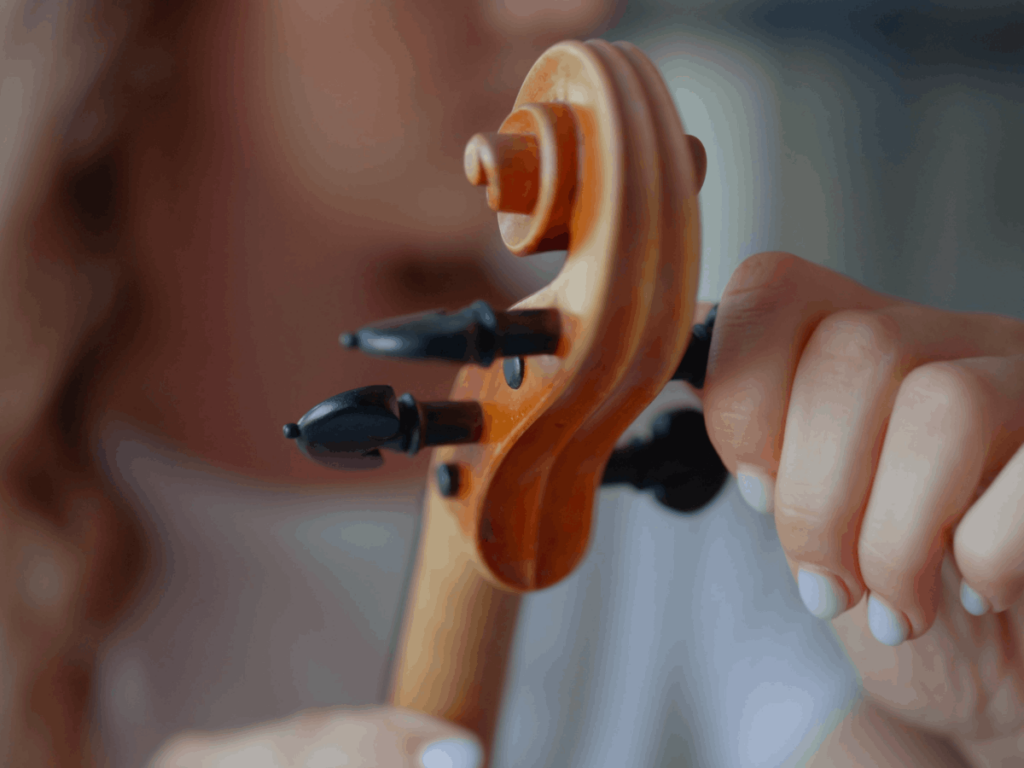
Remember, during this process, the tuning pegs at the top of the instrument’s neck are your best friends.
Turn the pegs clockwise to tighten the string and raise the pitch. It may take a bit of practice to master tuning your violin, but don’t worry – you’ll get there!
Playing Positions and Posture

Holding the Violin
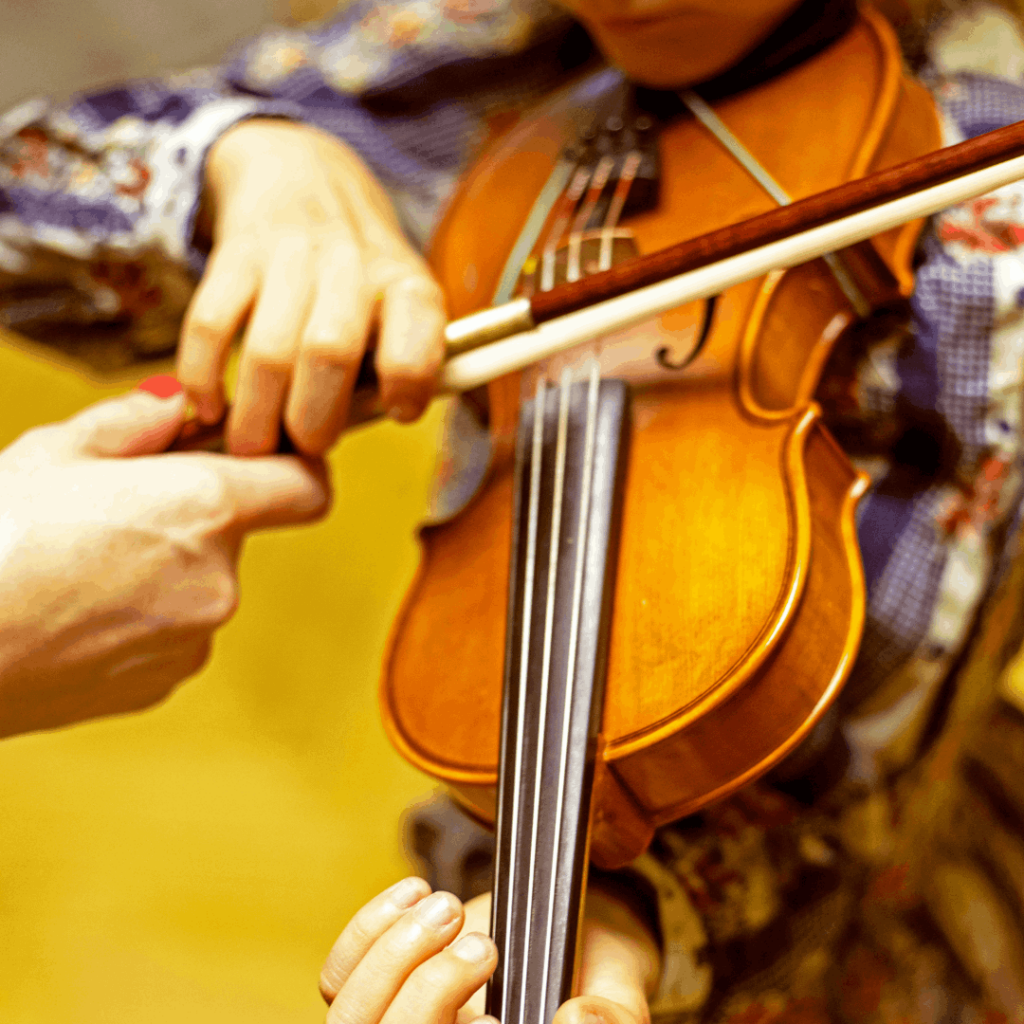
To start playing position one, let’s focus on holding the violin. Position your violin between your chin and left shoulder, and rest your left hand on the edge of the body instead of the fingerboard.
Place the corner of your chin on the chin rest and use it to clamp down on the violin. You may need to try different chin rests to find the best fit (and the best view of your music stand!). Here’s a simple list to help set up the proper position:
- Rest violin between chin and shoulder
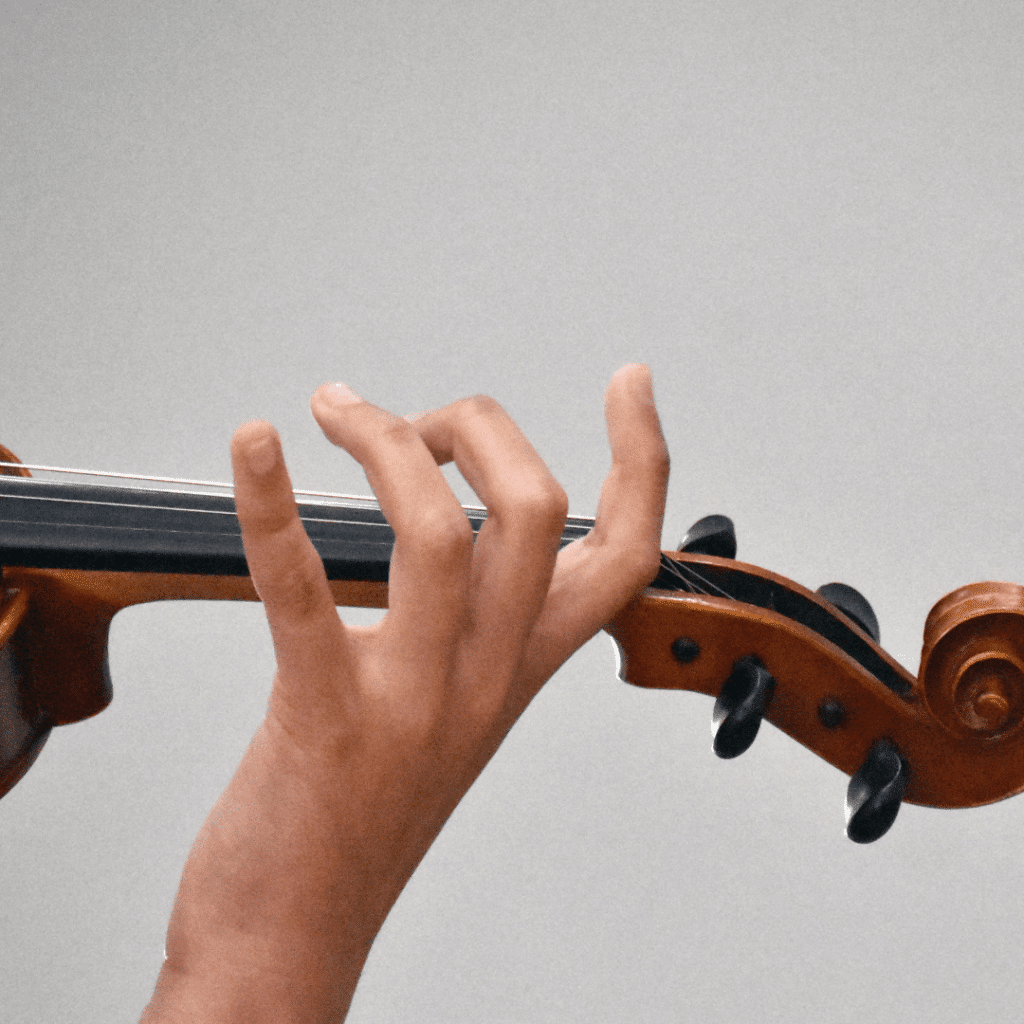
- Left hand on the body, not the fingerboard
- Chin on the chin rest
Now your violin is ready for plucking!
Right-Hand Position for Plucking
Now, it’s time to master the right-hand position for plucking. You’ll be using your right index finger to pluck the strings.
Use the most fleshy part (pad) of your finger, not the nail. Pluck about an inch and a half higher than the end of the fingerboard (closer to the scroll).
To summarize, keep these tips in mind for right-hand positioning:
- Use the right index finger
- Pluck with a finger pad, not nail
- Pluck 1.5 inches higher than the end of the fingerboard
Practicing Pizzicato Techniques
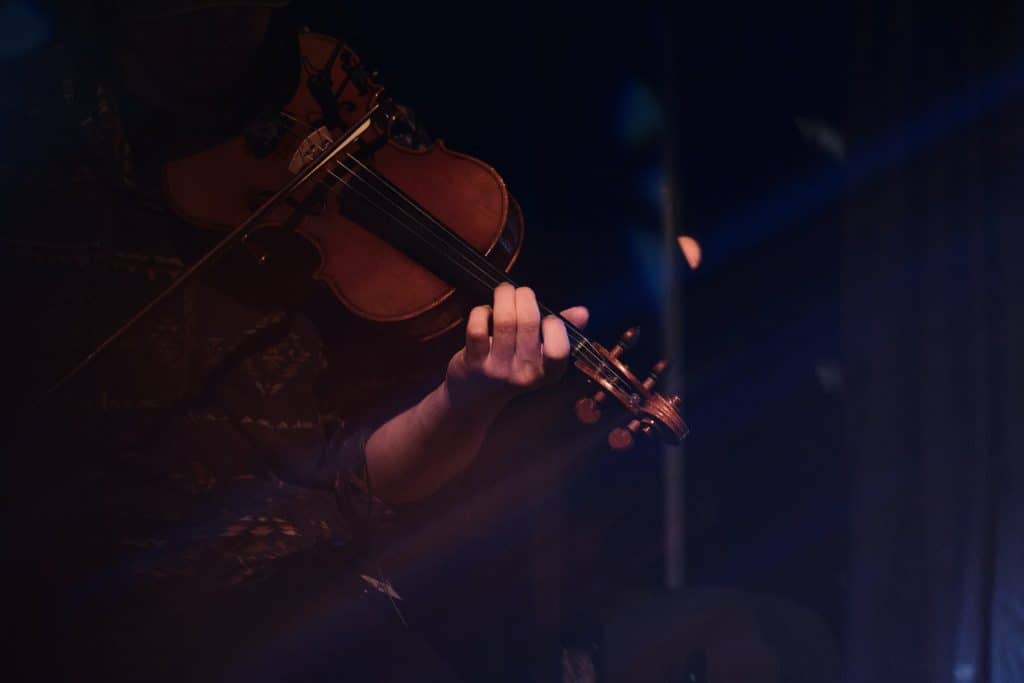
Basic Plucking Exercises
To start practicing pizzicato, simply plucking your violin’s open strings. Use your right hand’s index finger or thumb (though sometimes the middle finger is used) to gently pull the string away from the violin’s body before letting it go and snapping back.
This motion produces a distinctive pizzicato sound.
Once you’re comfortable with this, try plucking specific notes on each string while using your left hand to finger the notes on the fingerboard.
For example, practice the following open string sequence:
G-D-A-E-A-D-G (low to high)
Now, here’s a list of exercises to develop your coordination and technique:
- Practice alternating open strings with fingered notes on all four strings.
- Try scales using pizzicato, focusing on even and precise plucking.
Remember, start slowly and gradually increase speed as you become more comfortable. This will help you build a strong foundation.

Advanced Pizzicato Patterns
Once you feel confident with basic hand pizzicato exercises, you can now explore more advanced techniques.
Snap or Bartók pizzicato involves pulling the string up and away from the fingerboard and then releasing it, causing the string to slap against the fingerboard.
This technique is more aggressive and produces a distinctly louder, percussive sound.
To practice and play pizzicato, start by plucking individual strings using the snap pizzicato technique, and then try incorporating it into your playing.
Another advanced technique is the tremolo pizzicato. This involves rapidly plucking a single string in quick, short motions. It creates a unique, shimmering effect in the music. To master this technique, try the following steps:
- Start with a slow tempo, focusing on maintaining a consistent rhythm and sound quality.
- Gradually increase your speed while maintaining evenness and precision.
- Incorporate tremolo pizzicato into pieces with this technique, and practice for a fluid transition between regular pizzicato and tremolo.
Our Recommended Beginner Violins
Stentor Student 2 Violin
Music teachers recommend this violin because of the quality of its make, which is uncommon considering the affordability of this violin.
In crafting the violin, the company uses premium quality materials like aged spruce for the top part to ensure good sound transmission, and for the bottom and sides, aged maple is used, mainly because of its durability.
Stentor Student 2 Violin Outfit, Full Size
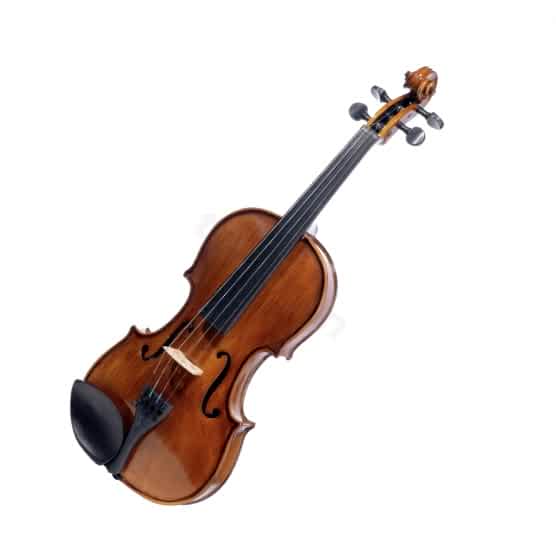
FEATURES: The composite tailpiece has four integrated adjusters
OTHER INFO: The violin is finished in gold-brown varnish
- The top is made from carved, solid spruce top
- Cost-effective investment
- Good sound quality
- It uses premium quality materials.
- None
When you click ‘Check Price’, you’ll see there are loads of great places to buy this item. Our personal favorite is Sweetwater for the US, and Thomann and Gear4Music for the UK & Europe.
They are the largest music retailers, with excellent customer service, competitive prices, really fast shipping, and the longest guarantees.
The professional musician who wrote this article combined many things,
from the product build, manufacturer’s reputation through to feedback
from other users, to create our famous TedScore™.
Yamaha V3 Series Student Violin Outfit 3/4 Size
It’s an entry-level student violin that is designed with a balance between cost and quality in mind. It is known for being a well-built violin with good sound that won’t break the bank.
Yamaha V3 Series Student Violin Outfit 3/4 Size

FEATURES: Hand-carved spruce top and maple back and sides
OTHER INFO: Wittner tailpiece with four built-in fine tuners
- Great sound and playability
- Solid reputation and support
- Complete kit
- Some users may prefer different strings or accessories
When you click ‘Check Price’, you’ll see there are loads of great places to buy this item. Our personal favorite is Sweetwater for the US, and Thomann and Gear4Music for the UK & Europe.
They are the largest music retailers, with excellent customer service, competitive prices, really fast shipping, and the longest guarantees.
The professional musician who wrote this article combined many things,
from the product build, manufacturer’s reputation through to feedback
from other users, to create our famous TedScore™.
Bunnel G1 Violin Outfit
Professional testers typically describe its sound as sweet, strong, and projective. The Bunnel G1 Violin Outfit is a popular choice for young students and adult beginners looking for a quality instrument that will last for a long period.
Bunnel G1 Violin Outfit

FEATURES:Pure ebony fittings with an oil finish, Equipped with D’Addario Prelude Strings, Hand-carved spruce and maple wood
- Easy to tune and play
- Extra strings, tuner, and other accessories included
- Lifetime warranty
- Heavy, so not the best for younger children
When you click ‘Check Price’, you’ll see there are loads of great places to buy this item. Our personal favorite is Sweetwater for the US, and Thomann and Gear4Music for the UK & Europe.
They are the largest music retailers, with excellent customer service, competitive prices, really fast shipping, and the longest guarantees.
The professional musician who wrote this article combined many things,
from the product build, manufacturer’s reputation through to feedback
from other users, to create our famous TedScore™.
Plucking Strings On Violin
Summary
You’ve explored the world of plucking violin strings and discovered the magic of pizzicato. This versatile technique has opened doors to endless musical possibilities.
Remember, it’s all about using the pad of your right thumb and index finger to create a unique, very different sound on your violin.
By now, you can:
- Understand the technique of pizzicato
- Know where to pluck the strings for optimal sound
- Get familiar with different pizzicato styles
The beauty of pizzicato lies in the diversity of sounds it can produce. From delicate and harmonic to bold and percussive, your violin has become one of the excitingly versatile and interesting bowed instruments.
To sum it up, embrace the power of pizzicato, and let it enrich your musical journey. Approach each practice session with enthusiasm and curiosity.
Most importantly, enjoy the process, and remember to keep plucking those violin strings!
Before you go…
Unleash your musical journey as we find out in our next article the best rosins available…
FAQ's
Pizzicato is indicated in sheet music by the abbreviation “pizz.” placed above the staff, instructing the musician to pluck the strings instead of using the bow. Additionally, specific passages may include written instructions for when to switch to or from pizzicato.
The musical term for plucking the strings of a violin is “pizzicato.” It involves using the fingers to pluck the strings instead of using the bow to produce sound.
The bow (with the proper bow hold, of course!) enables the player to sustain a music notation by continuously applying energy, in contrast to the quick decay of high harmonics after a pluck during pizzicato. This sustained energy input also influences the timbre, allowing for the preservation of fundamental and lower harmonics.
Many violinists consider mastering vibrato to be one of the most challenging techniques. It creates a controlled and expressive pitch oscillation while maintaining a steady bowing motion.




Anna, this outline nails the essentials for anyone looking to get started with violin, especially pizzicato. Spot-on with the beginner violin recommendations. Having the right instrument can make a world of difference for a newbie. Plus, the focus on posture and playing position is crucial; can’t stress that enough. Kudos for putting together such a comprehensive guide.
I’ve always wanted to try the violin. Reading comments like these makes me think it’s definitely worth giving a shot. Thanks for the insights!
Great, now everyone’s gonna think they can just pluck away and sound like a pro. Remember folks, practice doesn’t make perfect if you’re doing it all wrong.
gotta say, practicing pizzicato has been a game changer for my rhythm compositions. Never thought how much violin techniques could influence electronic tracks. Props for highlighting some advanced patterns there, really opens up new pathways for creativity.
Absolutely agree, beatmaster92. Incorporating string techniques into different genres can create a unique sound palette. It’s fascinating how traditional practices like pizzicato can transcend their classical roots and find a place in modern music production.
Hey Anna, was wondering how the stentor student 2 violin holds up for folks who’ve never played before? Is it easy to handle for newbies?