
Are you tired of feeling like a clumsy koala while playing your oboe?
Fear not, because we’ve got the solution to your finger-fumbling woes: an Oboe Fingering Chart!
Let’s face it. The oboe is a finicky instrument that requires some serious finger acrobatics. But with a trusty Oboe Fingering Chart by your side, you’ll be hitting those high notes like a pro in no time.
Whether you’re a seasoned oboe player or just starting out, this guide will have you finger-flicking your way to success. Say goodbye to awkward finger positions and hello to smooth, seamless playing!
So, what are you waiting for? Grab your oboe and get ready to rock those fingerings like a pro!
What is an
Oboe Fingering Chart?

An oboe fingering chart is a visual representation of the fingerings used to produce specific notes on the oboe.
It’s an essential tool for oboists of all skill levels, from beginners to professionals. The chart typically includes diagrams or drawings of the oboe keys and finger positions required for each note.
Why is it important?
Understanding and memorizing the fingerings for different notes on the oboe is crucial for accurate and efficient playing.
The oboe has a complex fingering system, and each note requires precise finger placement to produce the desired pitch.
Using a fingering chart allows oboists to quickly reference the correct fingerings, particularly for less commonly played notes or more advanced techniques.
- 1. Easily learn and memorize fingerings for different notes.
- 2. Ensure accuracy in playing and intonation.
- 3. Master difficult passages and techniques.
- 4. Explore alternate fingerings for improved sound quality or ease of execution.
- 5. Teach and share fingerings with other oboists.
How to Read an
Oboe Fingering Chart
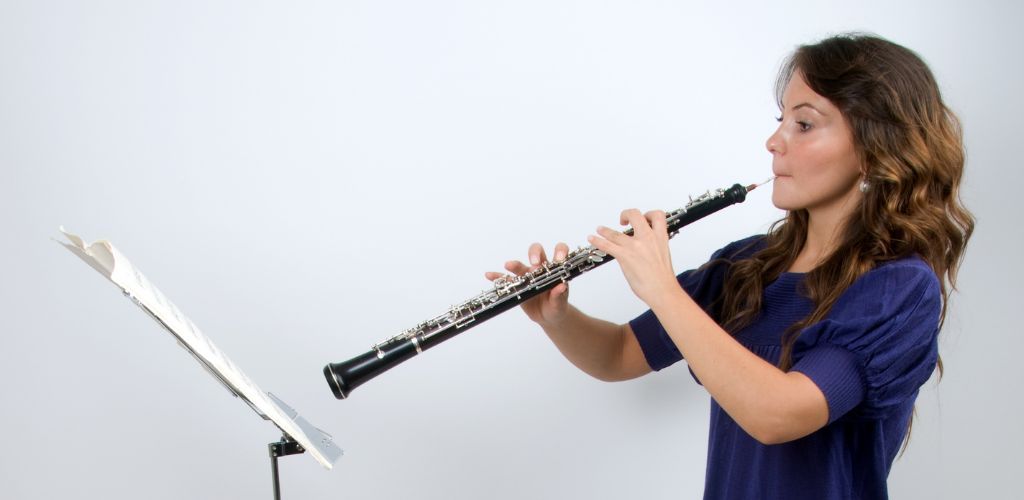
Understanding the diagram
The fingering chart consists of a diagram showing the oboe keys and their corresponding fingerings. The diagram is typically organized vertically, with the bottom representing the low notes and the top representing the high notes.
Identifying the keys
A specific symbol or shape on the chart represents each key on the oboe. The symbols indicate which keys should be pressed down or released to produce the desired note.
Interpreting the fingerings
The fingerings are usually represented by numbers corresponding to specific fingers. For example, the thumb is often represented as 0, while the fingers are numbered 1-6, starting from the left hand.
Recognizing the alternative fingerings
Some oboe fingering charts also include alternative fingerings for certain notes. These alternative fingerings can produce different tonal qualities or make certain passages easier to play. They’re typically indicated by a different colour or with parentheses around the fingering.
Common Oboe Fingerings
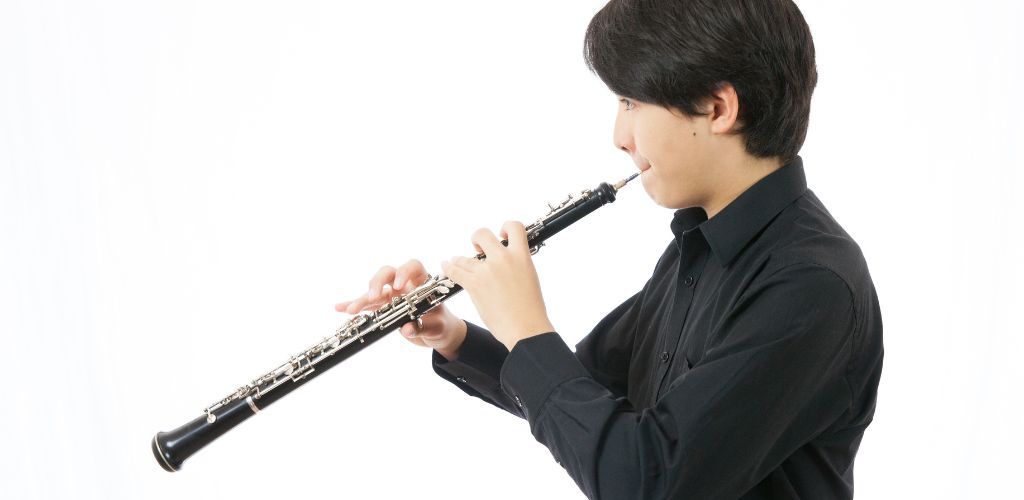
C: OXX|XXX
This is the standard fingering for C on the oboe. It involves covering all of the tone holes with your fingers.
D: OXX|OOX
To play D, keep the same fingerings as C, but lift the third finger on the right hand.
E: OXX|OXO
For E, lift your index finger on the left hand while keeping the other fingerings the same.
F: OXX|OOO
F is played by lifting both the second and third fingers on the right hand while keeping the left-hand fingerings the same.
G: OXX|XOO
To play G, lift all the fingers on the right hand while keeping the left fingerings the same.
A: OXX|XXO
A is played by lifting the index finger on the right hand while keeping the left-hand fingerings the same.
B: OXX|OXX
For B, lift the second finger on the right hand while keeping the left-hand fingerings the same.
High C: OXX|XXX with the octave key
To play high C, use the same fingerings as the low C, but add the octave key.
Tips for Using an Oboe Fingering Chart

Take some time to study the fingering chart and understand how the fingerings are represented. Notice the symbols that indicate open holes, partially covered holes, and keys that must be pressed.
Begin by learning the fingerings for the most commonly used notes on the oboe. Mastering these core fingerings will provide a strong foundation for playing a wide range of music.
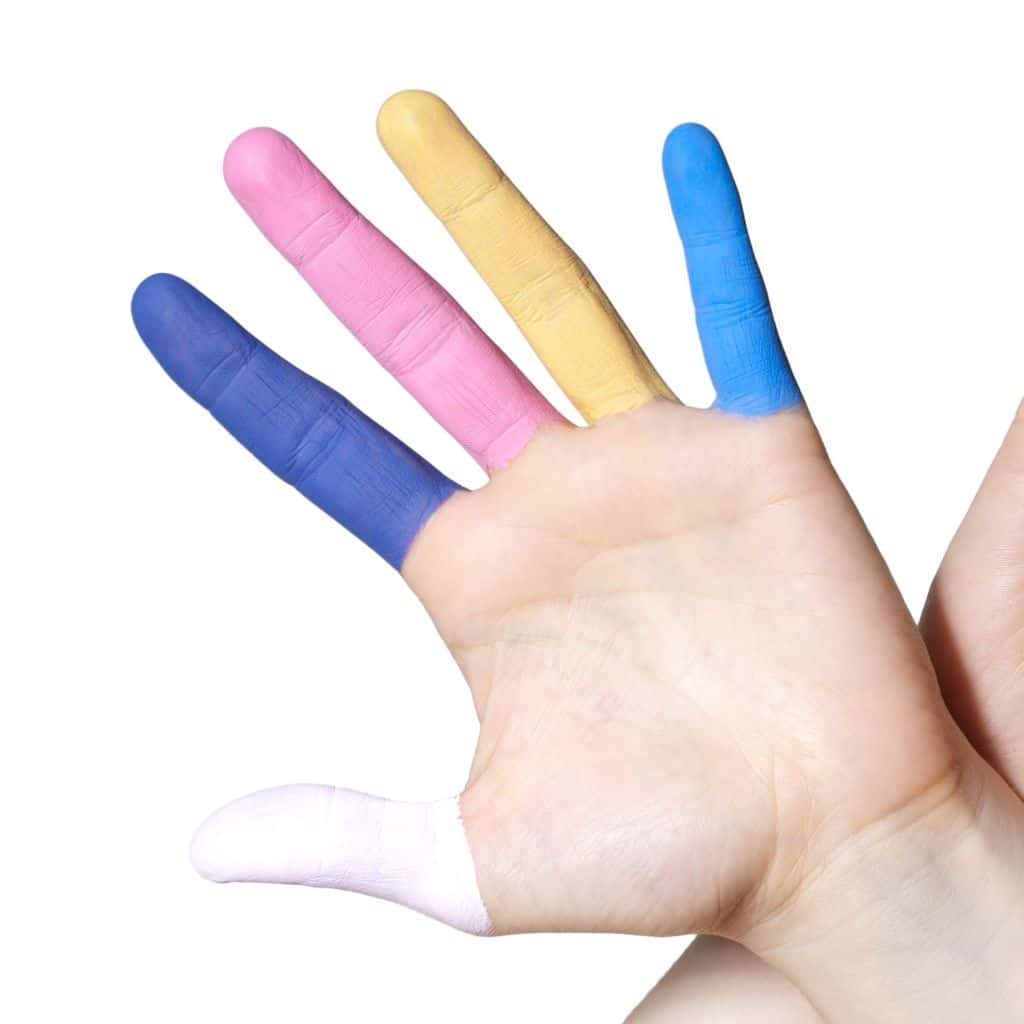
Some fingering charts include color-coded dots or shapes indicating which fingers should be pressed for each note. This can be particularly helpful when learning new fingerings or transitioning between octaves.
When using the fingering chart, start by playing the notes slowly and make sure you’re pressing down the correct keys or covering the right holes. Gradually increase your speed as you become more comfortable with the fingerings.
Recommended Oboes
Yamaha YOB241B30 Student Oboe
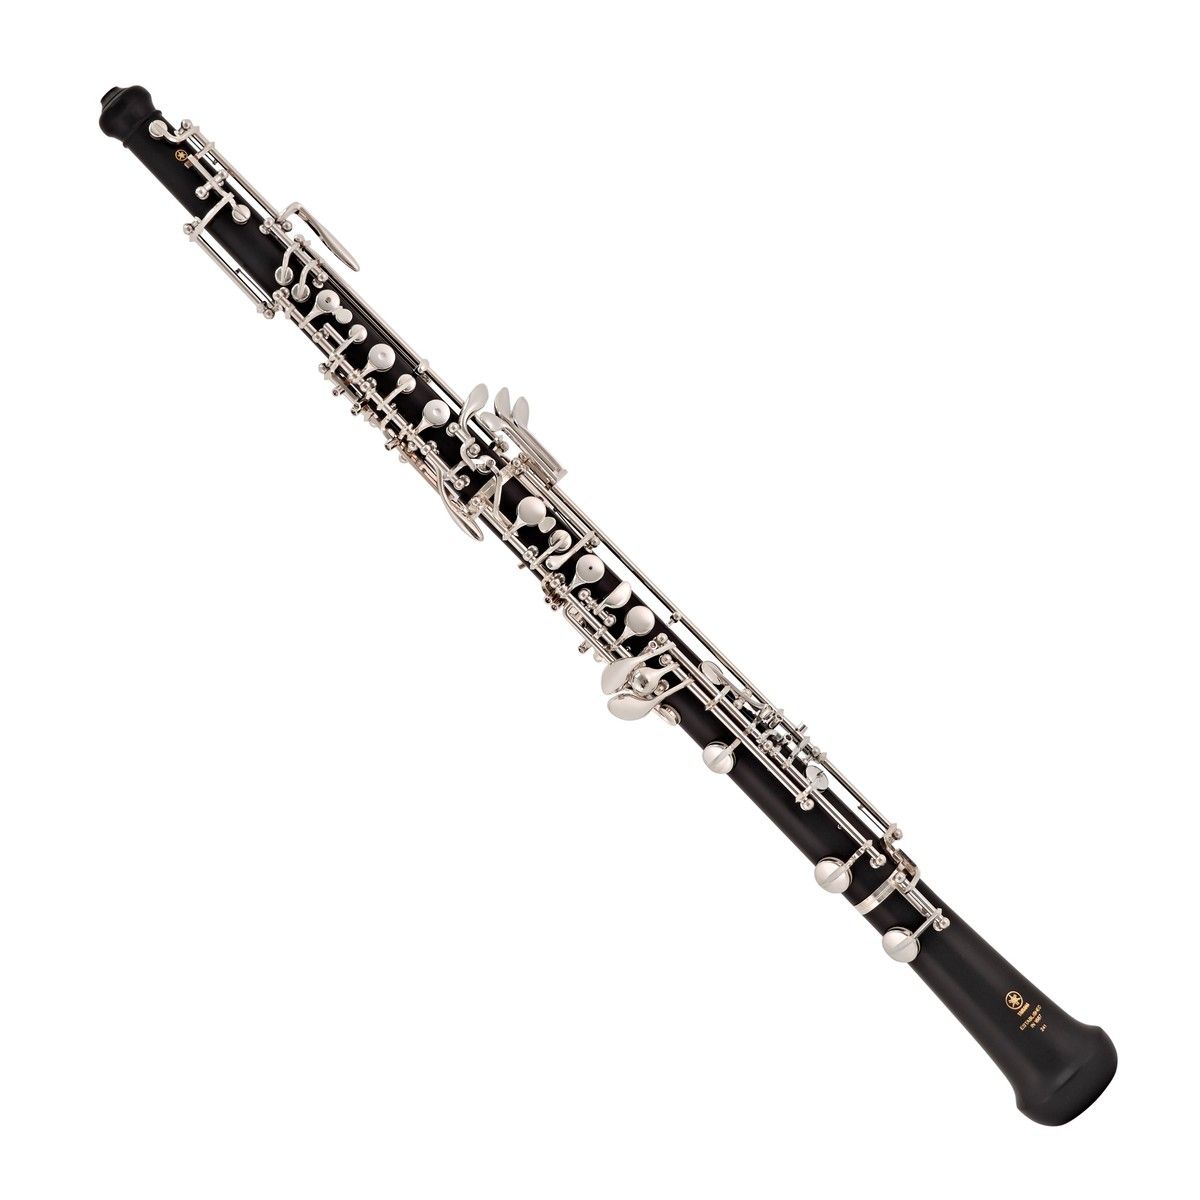
FEATURES: Constructed with an ABS resin body
OTHER INFO: Features a semiautomatic, simplified conservatoire system that makes playing and learning easier
- Produces a warm tone similar to that of wooden instruments
- Designed to facilitate learning and playing
- Includes a 200 Series Case
- Due to its resin material, the oboe may require more frequent maintenance
When you click ‘Check Price’, you’ll see there are loads of great places to buy this item. Our personal favorite is Sweetwater for the US, and Thomann and Gear4Music for the UK & Europe.
They are the largest music retailers, with excellent customer service, competitive prices, really fast shipping, and the longest guarantees.
The professional musician who wrote this article combined many things,
from the product build, manufacturer’s reputation through to feedback
from other users, to create our famous TedScore™.
Yamaha YOB431B Intermediate Oboe

DESIGNED FOR: Intermediate
FEATURES: Aged and seasoned grenadilla wood body for a professional sound
OTHER INFO: ABS resin body enhances durability
Yamaha YOB431B Intermediate Oboe
- Comes with 400 Series Case
- Makes learning fun and easy
- Expensive
When you click ‘Check Price’, you’ll see there are loads of great places to buy this item. Our personal favorite is Sweetwater for the US, and Thomann and Gear4Music for the UK & Europe.
They are the largest music retailers, with excellent customer service, competitive prices, really fast shipping, and the longest guarantees.
The professional musician who wrote this article combined many things,
from the product build, manufacturer’s reputation through to feedback
from other users, to create our famous TedScore™.
Yinfente Professional Oboe
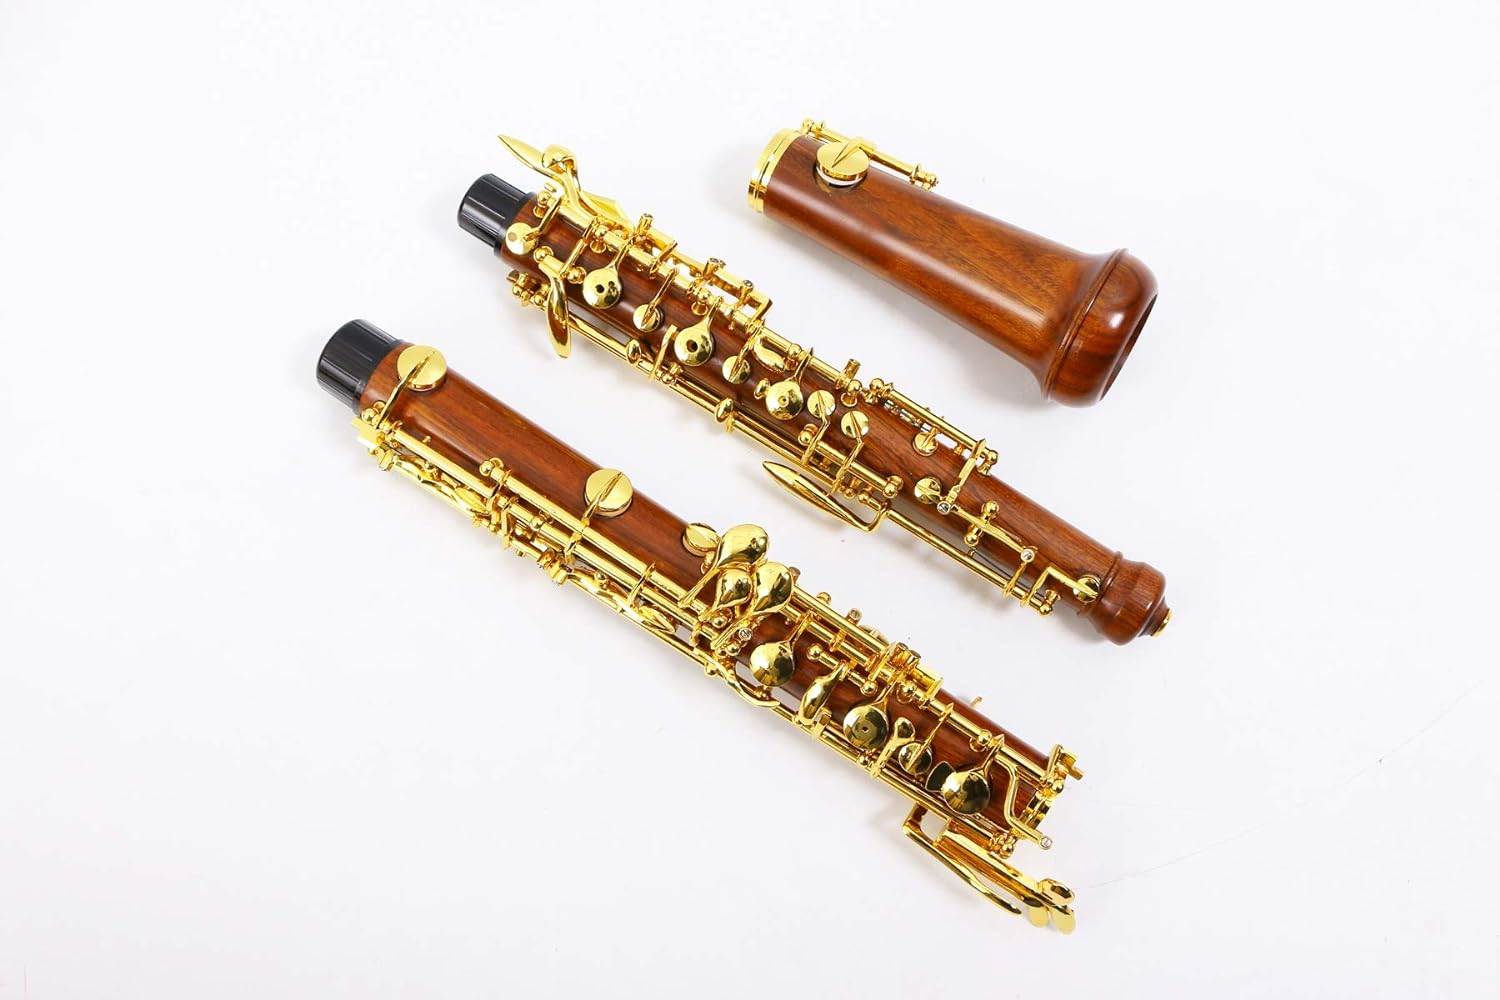
FEATURES: Created from Rosewood or Ebonite wood
OTHER INFO: Features a C key with left F resonance and a semi-automatic system
- The intonation has been adjusted for professional use
- More affordable option for a professional player
- Includes a high-quality case and cover
- A relatively new and lesser-known brand
When you click ‘Check Price’, you’ll see there are loads of great places to buy this item. Our personal favorite is Sweetwater for the US, and Thomann and Gear4Music for the UK & Europe.
They are the largest music retailers, with excellent customer service, competitive prices, really fast shipping, and the longest guarantees.
The professional musician who wrote this article combined many things,
from the product build, manufacturer’s reputation through to feedback
from other users, to create our famous TedScore™.
Oboe Fingering Chart
Summary
Well, there you have it!
The oboe fingering chart is your ticket to oboe-playing success. With this trusty guide, you’ll hit those high notes and nail tricky fingerings like a pro.
So, don’t forget to keep your Oboe Fingering Chart handy. It’s the key to unlocking your potential as a player and ensuring you don’t sound like a squawking bird.
Now go forth and conquer the oboe world with your newfound finger-flicking skills. And remember, don’t be afraid to have a little fun along the way – after all, music is about expressing yourself and enjoying the ride!
Wait, there’s more!!!
Do you want to discover more about the oboe? Check out this next article and get to know some of the best ones!
FAQ's
The highest note the oboe can play is a high C, two octaves above the middle C on a piano. However, some advanced oboists can play even higher notes using special techniques such as harmonics.






Oh sure, because what we all needed was another chart to stare at. Guess it’s too hard to just listen and learn the old-fashioned way. But what do I know, I’m just an old critter in this new digital world.
Fascinating read! I’ve always admired the complexity of the oboe and seeing the fingering chart really puts into perspective how intricate and nuanced this instrument is. Bravo, Katie, for such a detailed article.
Oboe players got more fingerings to remember than my phone’s password haha
Can someone clarify for me the most effective way to introduce alternative fingerings to students who are just starting with the oboe? The chart provided in the article by Katie seems comprehensive, but I’m concerned about overwhelming beginners. Any strategies or additional resources would be greatly appreciated.
Also wondering – does practicing scales help with mastering these alt fingerings?
I remember when I started, my teacher introduced alternative fingerings slowly, as we encountered pieces that required them. Maybe start with the basics and add complexity as they progress?