Best
VIOLIN CASE
-
Overall: Lightweight and offers incredible protection from impact and temperature changes
-
Best Feature: Injected foam cushions to reduce the potential for impact damage greatly
-
TedScore™: 8.5/10
Best
VIOLIN STRINGS
KA310 Kaplan Amo
Violin String Set A Warm, Rich, and
Expressive Strings from
D’Addario
-
Overall: Warmer and richer sounding strings, perfect
for tonally brighter instruments -
Best Feature: 4/4 scale, medium tension
-
TedScore™: 9/10
Best
VIOLIN BOOK
Elements for Strings The Essentials You Need for Your Violin Journey
-
Overall: Engaging balance of essential exercises, theory fundamentals, and
entertaining content -
Best Feature: Embraced by teachers and students nationwide
-
TedScore™:
8.8/10
As an aspiring violinist, the violin fingering chart is one of the most important things you need to learn. It is impossible to play violin music without learning the basics!
So, you may wonder what chart I am talking about.
Violin fingering charts are a key tool for understanding where to place your fingers on the instrument’s fingerboard.

I remember when I first started learning the violin. My teacher’s teaching methods focused on mastering the basics, including the finger positions and charts.
I know how tedious it is! There are times when you need to do it over and over again just to precisely know where to put your little finger down in order to play accordingly. It can be exhausting!
As you practice, the chart becomes more than just a guide; it becomes second nature.
Committing these finger positions to memory will allow you to focus on the expression and emotion in your playing, which is where the true artistry of the violin shines through!
Understanding the Basics of Violin Fingering
Most violin music that is famous and well-known is played beautifully because the violinist knows their finger positions and they know how to play their instrument.
Anatomy of the Violin for Fingering
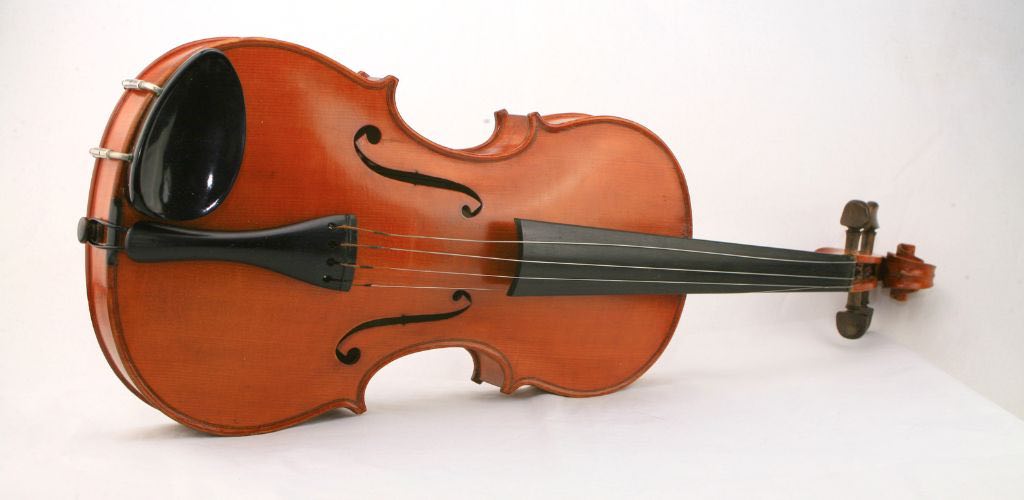
Your violin has no frets (those lines you see in a guitar), making it extra challenging to play – a playground for precision, I must say!
The violin fingerboard is the front stage where your fingers dance to create different violin notes.
The Role of the Left Hand

Your left hand is the star of the show.
It deftly presses the strings against the fingerboard to alter pitch, balancing the fine line between a sharp note and the perfect tone.
Violin Strings and Notes
Now, Let’s talk about string geography!
Your violin has four strings: G, D, A, and E.
The G string is the lowest pitch, humming deeply in G major, while the E string hits the high notes.
D'Addario KA310 Kaplan Amo Violin String Set

FEATURES: Warmer and richer sounding strings, perfect for tonally brighter instruments
OTHER INFO: 4/4 scale, medium tension
- Designed for and trusted by professionals
- Constructed with a synthetic core for flexibility and freedom of expression
- No Cons at All!
When you click ‘Check Price’, you’ll see there are loads of great places to buy this item. Our personal favorite is Sweetwater for the US, and Thomann and Gear4Music for the UK & Europe.
They are the largest music retailers, with excellent customer service, competitive prices, really fast shipping, and the longest guarantees.
The professional musician who wrote this article combined many things,
from the product build, manufacturer’s reputation through to feedback
from other users, to create our famous TedScore™.
Finger Placement and Hand Position
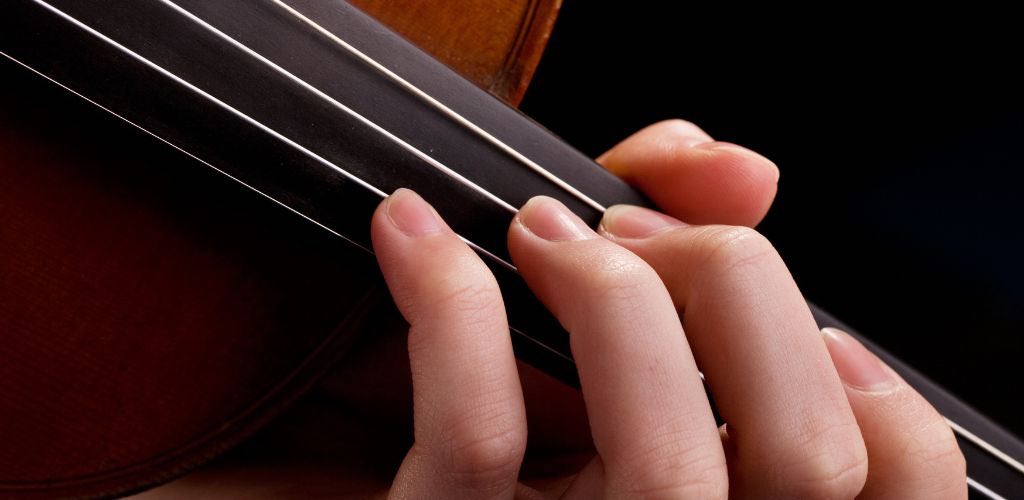
Always remember that navigating the fingerboard requires a steady hand position.
Your fingers numbered 1 to 4, move across the strings, pressing down just behind the intended pitch to hit a note just right.
In the first position, your index finger starts the first note, and with each finger that follows, a new note springs to life.
For example, pressing the first position on the A string would produce the B note.
Mastering Violin Fingering Techniques and Practice
Embarking on the journey of mastering the violin, you need to get cozy with the fingerboard.
First Position Fingering Patterns
Getting started with violin is like making a new friend—one that requires an introduction to first position.
Your first finger is your index finger, the second finger is the middle finger, the third finger is the ring finger, and the fourth finger is your pinky finger.
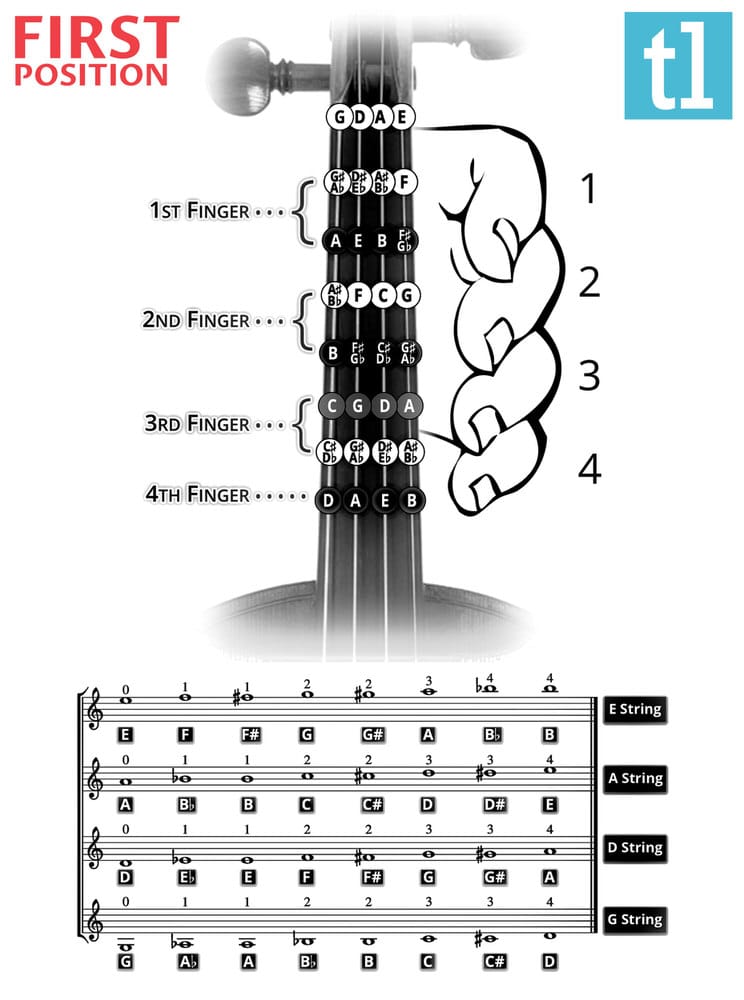
- G string: Open G, A (1st finger), B (2nd finger), C (3rd finger), D (4th finger)
- D string: Open D, E (1st finger), F# (2nd finger), G (3rd finger)
- A string: Open A, B (1st finger), C# (2nd finger), D (3rd finger)
- E string: Open E, F# (1st finger), G# (2nd finger), A (3rd finger)
By focusing on these finger patterns, you will cultivate muscle memory that makes your fingers hop to the right spots without a second thought!
Moving Beyond First Position
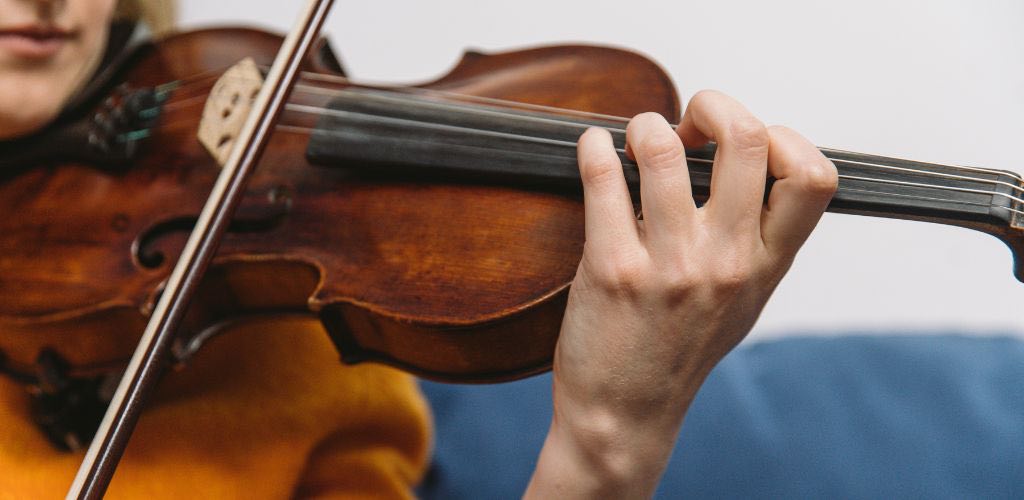
Once the first position feels like home, you’re ready to venture further up the fingerboard, from the second position to the third position and beyond!
Imagine you’re climbing a ladder — each rung is a new position, providing access to more notes and octaves.
Learning higher positions expands your reach, making pieces that require a wider range of notes more manageable.
Scale Practice for Proficiency
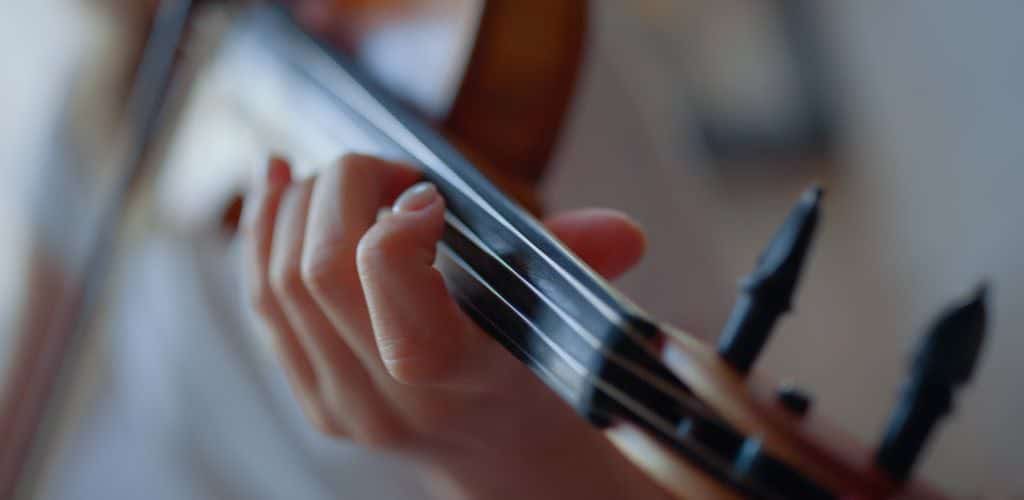
Scales are the veggies of violin practice—they might not be your favorite, but they’re oh-so-good for you!
Delve into a major scale like G major, D major, and A major to familiarize yourself with different key signatures and the layout of notes on the fingerboard.
Each key has a unique pattern of tones and semitones to play with. Frequent scale practice enhances your ear, strengthens finger patterns, and ensures that your intonation is spot-on.
Learn scales, my friend, and it will take you to places in the musical world!
Hal Leonard Essential Elements for Strings - Violin Book 1 with EEi
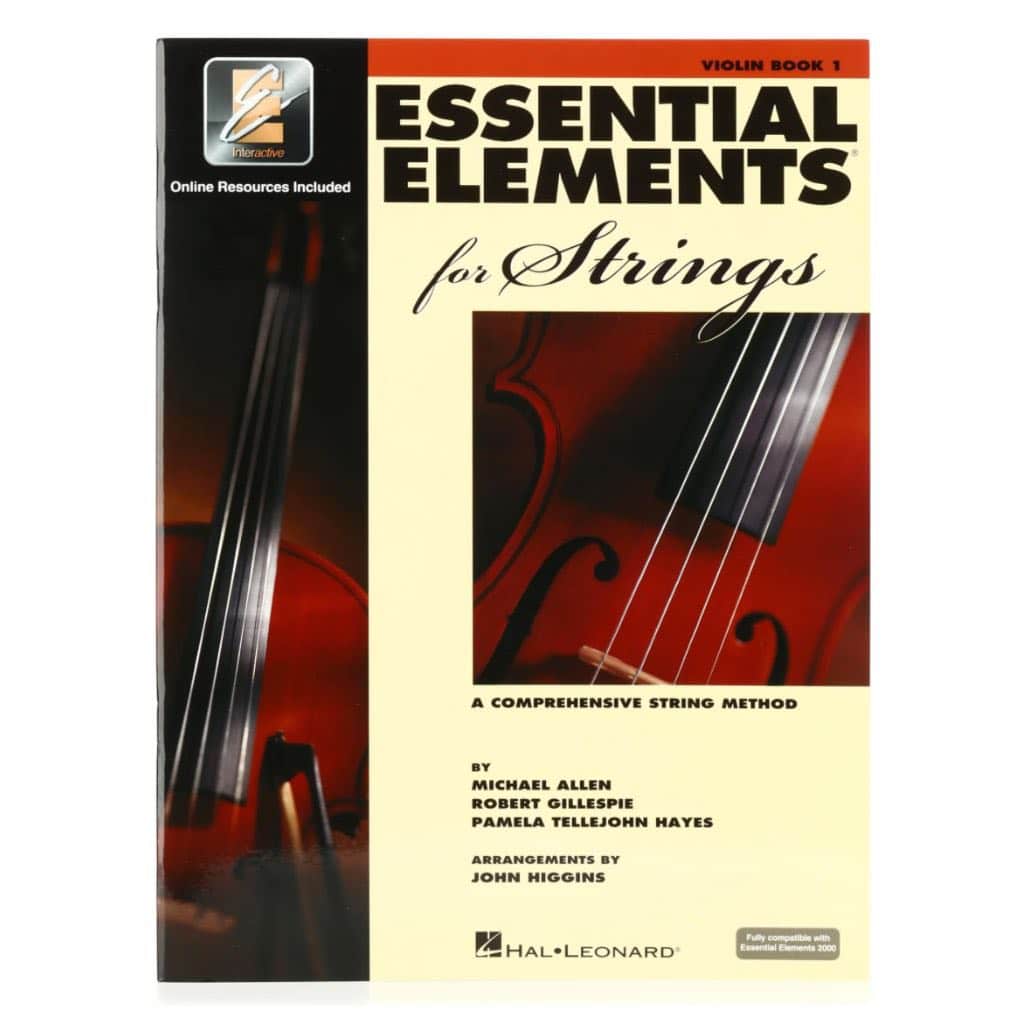
FEATURES: Engaging balance of essential exercises, theory fundamentals, and entertaining content
OTHER INFO: Embraced by teachers and students nationwide
- Includes Essential Elements Interactive with access to online teaching, learning, and assessment tools
- Solid foundations built in Book 1 can be continued with additional books
- None!
When you click ‘Check Price’, you’ll see there are loads of great places to buy this item. Our personal favorite is Sweetwater for the US, and Thomann and Gear4Music for the UK & Europe.
They are the largest music retailers, with excellent customer service, competitive prices, really fast shipping, and the longest guarantees.
The professional musician who wrote this article combined many things,
from the product build, manufacturer’s reputation through to feedback
from other users, to create our famous TedScore™.
Violin Fingering Chart:
The Summary!
Understanding violin finger placement is essential for creating beautiful violin music.
The chart displays each finger position correlating to a specific pitch. On the violin, your fingers are numbered 1 through 4, starting with the index finger.

First position is the most commonly learned and has your hand placed near the scroll. As you progress, you’ll encounter third and fifth positions, which allow you to reach higher notes.
- G string: Open G, A (1st finger), B (2nd), C (3rd), D (4th)
- D string: Open D, E (1st), F# (2nd), G (3rd), A (4th)
- A string: Open A, B (1st), C# (2nd), D (3rd), E (4th)
- E string: Open E, F# (1st), G# (2nd), A (3rd), B (4th)
Your chart can include advanced positions when you’re ready to branch out, each providing new notes and challenges.
You’ll encounter sharps and flats, too, which are noted by shifting slightly up or down on the fingerboard.
Always keep your chart handy for quick reference as you play. With practice, finger placement will become second nature, and you won’t need the chart forever.
Enjoy the journey to playing each note with confidence and joy!
Hold up a Minute!
After learning the violin fingering charts, you may be interested in knowing more about the violin. If so, read this next article to learn 10 important tips for learning the instrument you dearly love!
FAQ's
Violinists learn where to place their fingers on the fingerboard through muscle memory and ear training, which allows them to find the correct pitches without frets. Over time, they develop a sense of the spacing between notes and use auditory feedback to adjust their intonation as they play.
To memorize finger placement on the violin, students often start by using finger tapes or visual markers on the fingerboard as guides and practice scales and exercises to build muscle memory. Consistent practice and listening carefully to the pitches help develop the ability to find the correct finger positions by feel and tune the sound, eventually making the markers unnecessary.
The finger positions on a violin are typically referred to in terms of first through seventh positions, which indicate where the hand is placed on the violin fingerboard first. In the first position, for example, the index finger (first finger) is placed to produce a note one whole step above the open string, and the subsequent fingers are placed at half-step intervals above that.
On the violin, the note C# can be played on different strings, depending on the desired octave and tonal quality; for instance, on the A string, C# is played by placing the second finger close to the first finger, which is on the B note in first position. On the G string, C# is played with the third finger in first position, again close to where the second finger would be placed for the note C natural.


