Improve Your Piano Technique
The ultimate guide to mastering Piano Technique
Are you looking to enhance your piano playing skills? Technique forms the cornerstone for any instrumentalist, and to improve effectively while safeguarding your body from injury, having a solid technique is essential. This article, as part of our ‘Beginner’s Guide To Learning Piano’ series, will provide you with the foundational, basic advice necessary to start improving right away.


Daily Exercises
Many exercises are essential to gain a proper technique. Once you master these exercises, you’ll be able to play almost anything. That sounds like a grand statement – but don’t underestimate the word ‘master’!
If you work enough, you’ll be able to look at a section of music and be confident enough to learn it quickly. For each exercise, there is a specific way to practice it. Your practice is only as good as your form while you practice. So be disciplined about it, as practising exercises wrong is a complete waste of time! We have three key exercise categories that will help you…

1. Scales
Scales are those things that all musicians love to hate. When I grew up, I thought the only thing that was worse than practicing scales, was practicing arpeggios. And the only thing worse than that, included a bee sting, a broken ankle and a dogs water bowl (don’t ask!).
So what happens when a child becomes a professional musician? Why do they suddenly forget their hatred for scales and enforce it on their students?
Possibly because scales are the one thing that can make or break you as a pianist. Almost every melody is made up in parts, from a scale. Almost every bass line follows a scale at some point. Almost every harmonic progression is built around scales. So you may not realise it, but listening to music means listening to many different scales. That means playing music means playing many different scales. It really is that important.
By knowing your scales well, your muscle memory will instinctively know what scale is part of what melody, bass line or harmony – and you’ll be able to play it easier and more accurately knowing this.
Every piece is set in a ‘key’. Every key has a different number of sharps or flats, and to start with it can be tricky to remember all the configurations. Scales help with this; every scale is different BECAUSE of the sharps and flats, so once you know the scales, you should know the keys. This then gives you a sixth sense where you can feel your way around the piano, and know which notes are likely to be right, and which are likely to be wrong.
Have you ever seen someone sightread a complicated piece and wondered ‘how did they do that?’ The answer is patterns. When reading music, we end up reading a series of patterns, not each individual note. It’s exactly the same reading this pargaraph. Did you realise I swapped the G and A around in the middle of the word ‘paragraph’? Thought not!

2. Arpeggios

The second most common tool in compositions are arpeggiated figures. Look at any melody; you’ll see either a mini-scale or a mini-arpeggio. Just like scales, if you know your arpeggios well, you’ll already know all these little snippets before you even practice the piece!
Arpeggios also strengthen your wrist. The transition from the 3rd or 4th finger to the thumb forces you to turn and direct your wrist, making it more flexible.
3. Chords
Blocked Chords
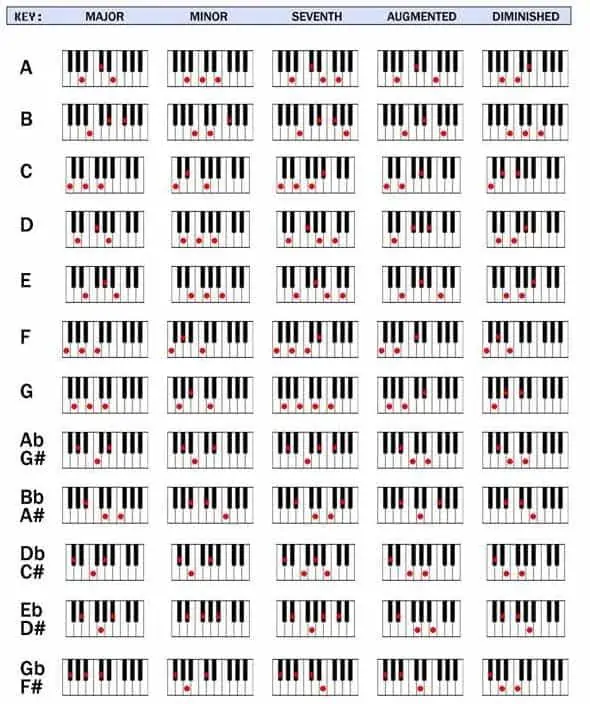
The majority of music is made up of chords. They are all over the place, and being able to play chords quickly is a tremendous advantage to learning pieces faster and more efficiently. Once you know all the chords, your fingers will be ready to “jump” to the chord shapes without thinking about it.
Broken Chords
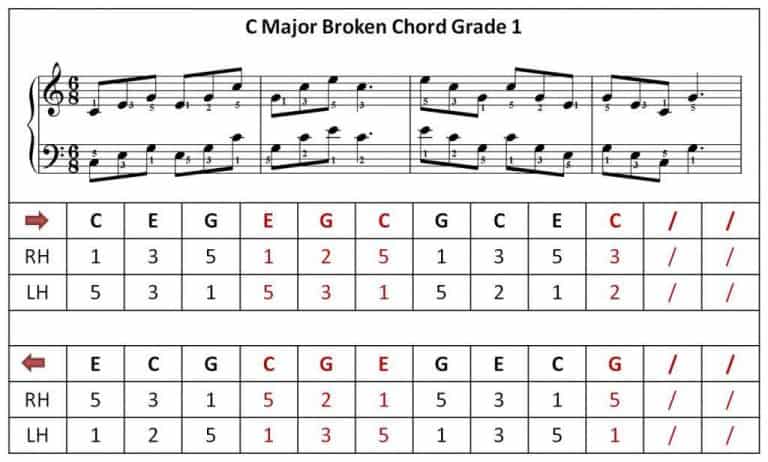
Broken chords are found all the time in various left-hand (bass) patterns. Practising broken chords develops the necessary over-under wrist motion that is used in so many piano pieces.
General Piano Technique
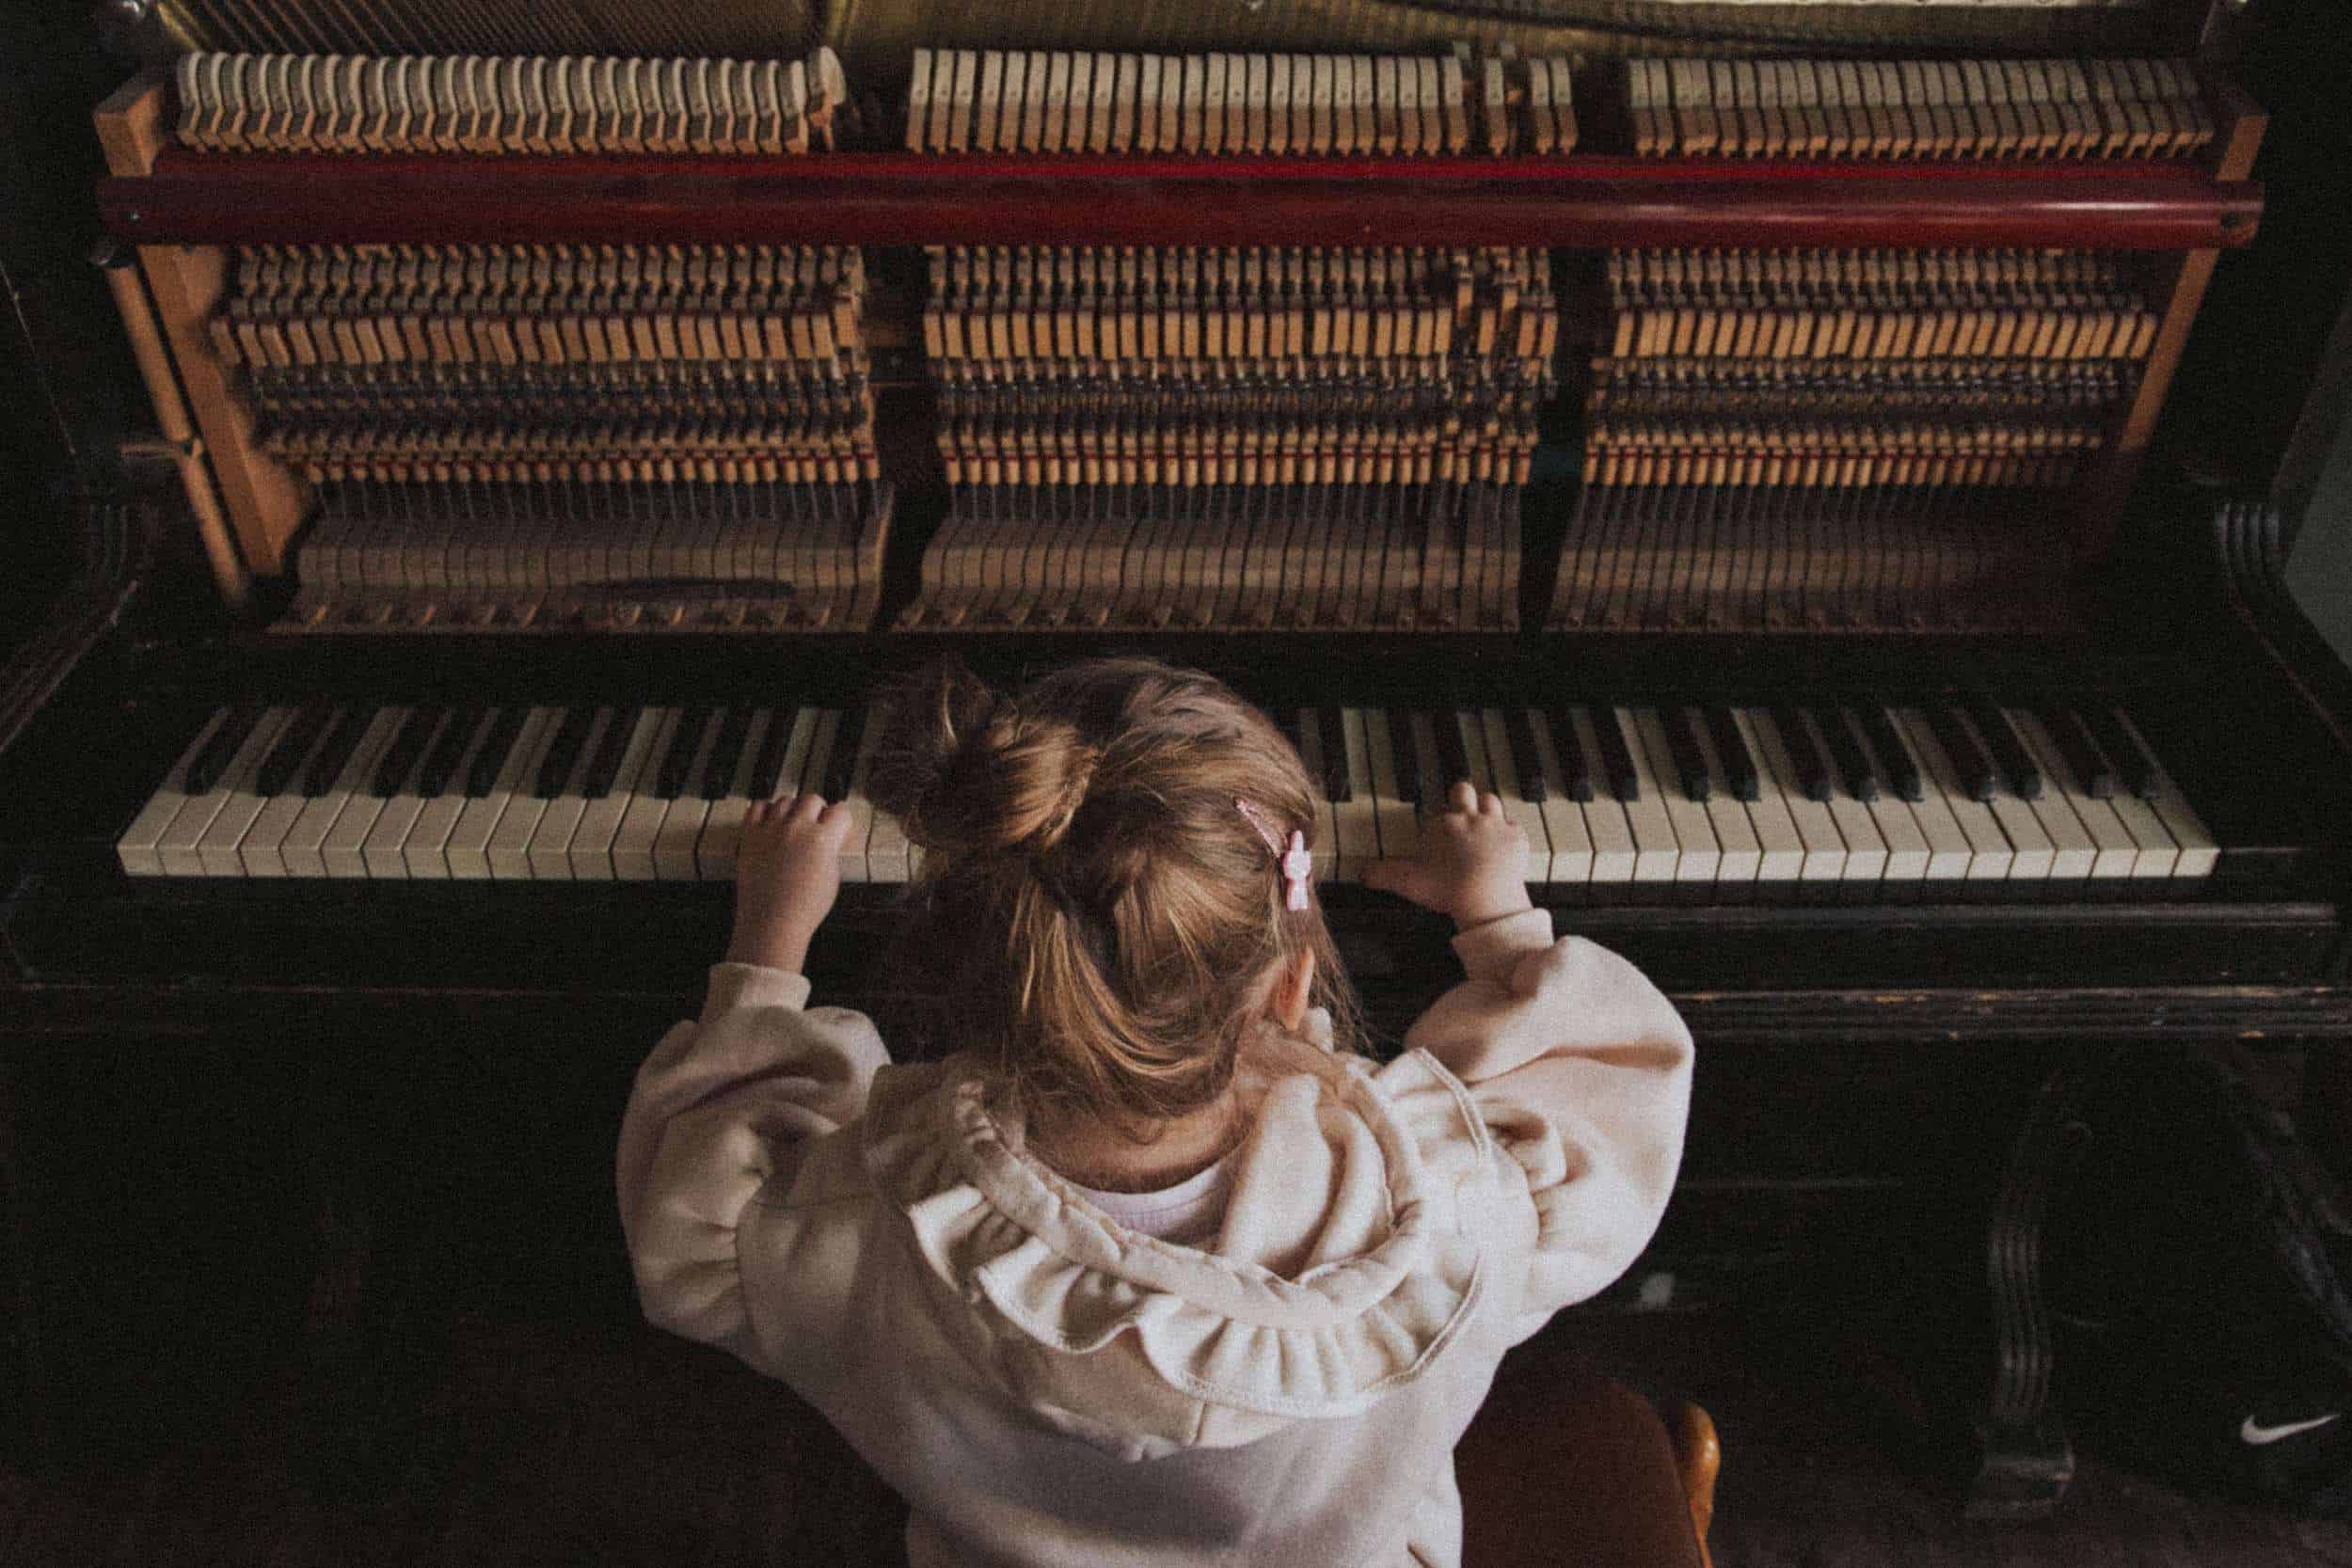
Wrong technique makes playing more challenging and tiring. Incorrect seat positioning or posture can cause pain in the shoulders, neck and back. Awkward hand positions can give you stiff fingers and limit your dexterity.
Fixing a bad technique can be tricky, so it’s essential to acquire good habits from the start.
The Piano Stool
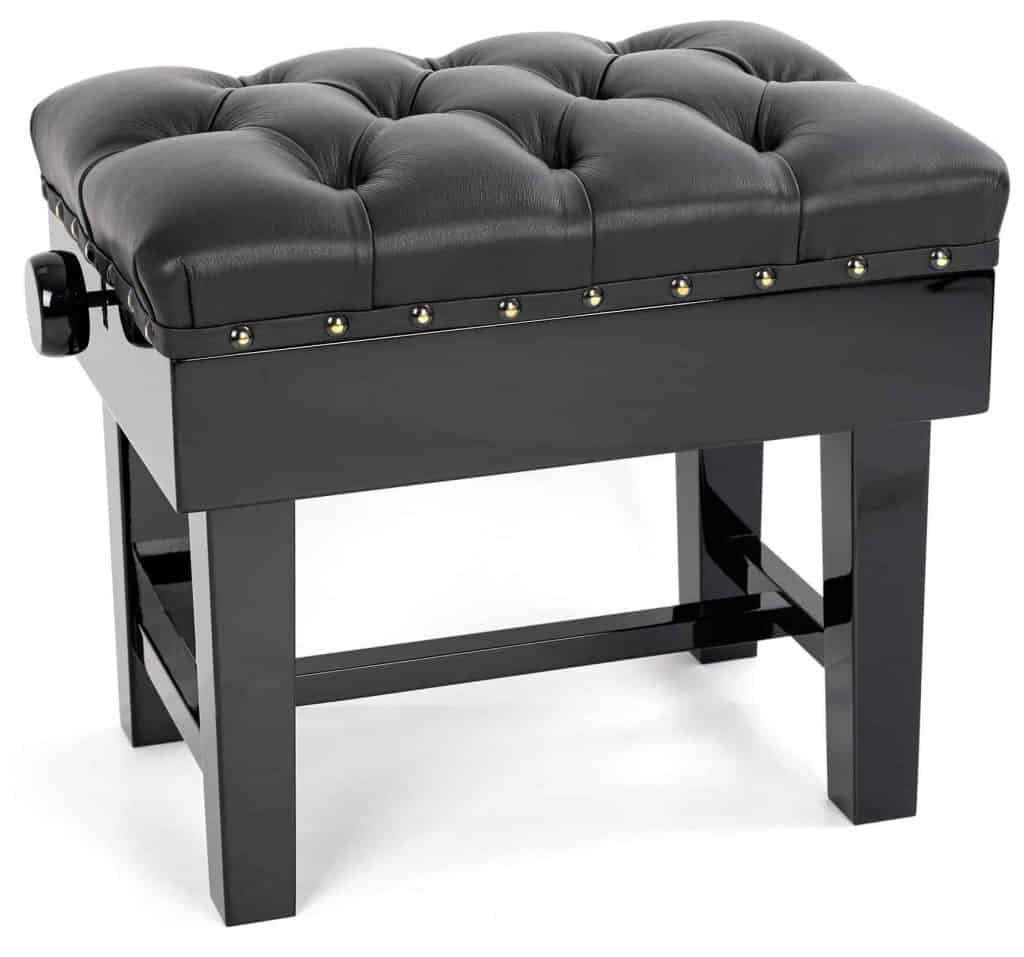
It doesn’t matter what you sit on as long as it is comfortable and the correct height. The best choice is an adjustable stool designed for playing the piano.
Sit with your elbows at the height of the keyboard, or a little higher if you want more power. This position is critical, and is the exact reason we recommend an adjustable piano stool, not a fixed one. You’re going to be sitting for a long time, so you may as well be comfortable!
If you need an adjustable stool, check out this Roland RBP-500 below.
Posture
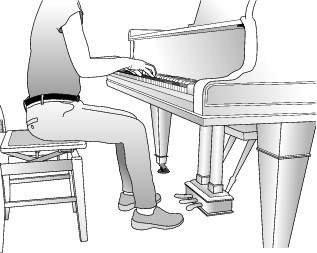
You may not know this, but your entire body is involved in playing the piano. Concert pianists who seem to make elaborate movements are playing with total control. They are directly transferring energy from their entire body into the keys. Who needs the gym when you have a piano!
Sit upright, back straight. Sitting like this may be tiring at first, don’t worry, your core will get stronger very quickly.
Relax your shoulders. Fight the urge to hunch or curve your spine. If you hold tension in your shoulders as many people do, roll them over and back a few times.
Once you’re happy, put your hands on the keyboard. Your fingers should be somewhere close to the where the black keys begin – not at the edge.
As you move up and down the piano with your fingers, your elbows should move along smoothly without ‘kicking’ out to the side in a jerky action.
Relaxed wrists allow you to translate the weight of your arm into energy to play. Gravity is your buddy, so don’t lock your wrist – keep it loose.
Hand Position
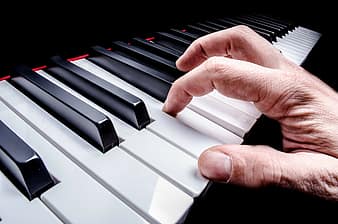
Imagine you are holding a small ball in each hand. Curl your fingers so that your fingertips tap on the keys. It would be best if you only touched the keys with the tips of your fingers, or sometimes the ‘pads’ – but never more than that. If you have your straight finger touching the key, you’ll get into trouble!
If you are finding this hard to imagine, grab an orange or something similar. Hold it, then remove the orange without changing your hand position.
Your little finger (your “pinky” finger) is the smallest and weakest, so it is a common habit to keep it flat. Try not to let that happen. Instead, curve it like the others. Difficult, I know – but you’ll get the hang of it soon.
Your thumb is the exception to the curving rule. Keep your thumb straight but relaxed, letting it drop down on the key with the side edge.
When you play, your fingers need to remain round and firm. It’s widespread for beginners to let their fingers collapse at the first joint. This will make you play slower and make more mistakes – so try to fix this asap!
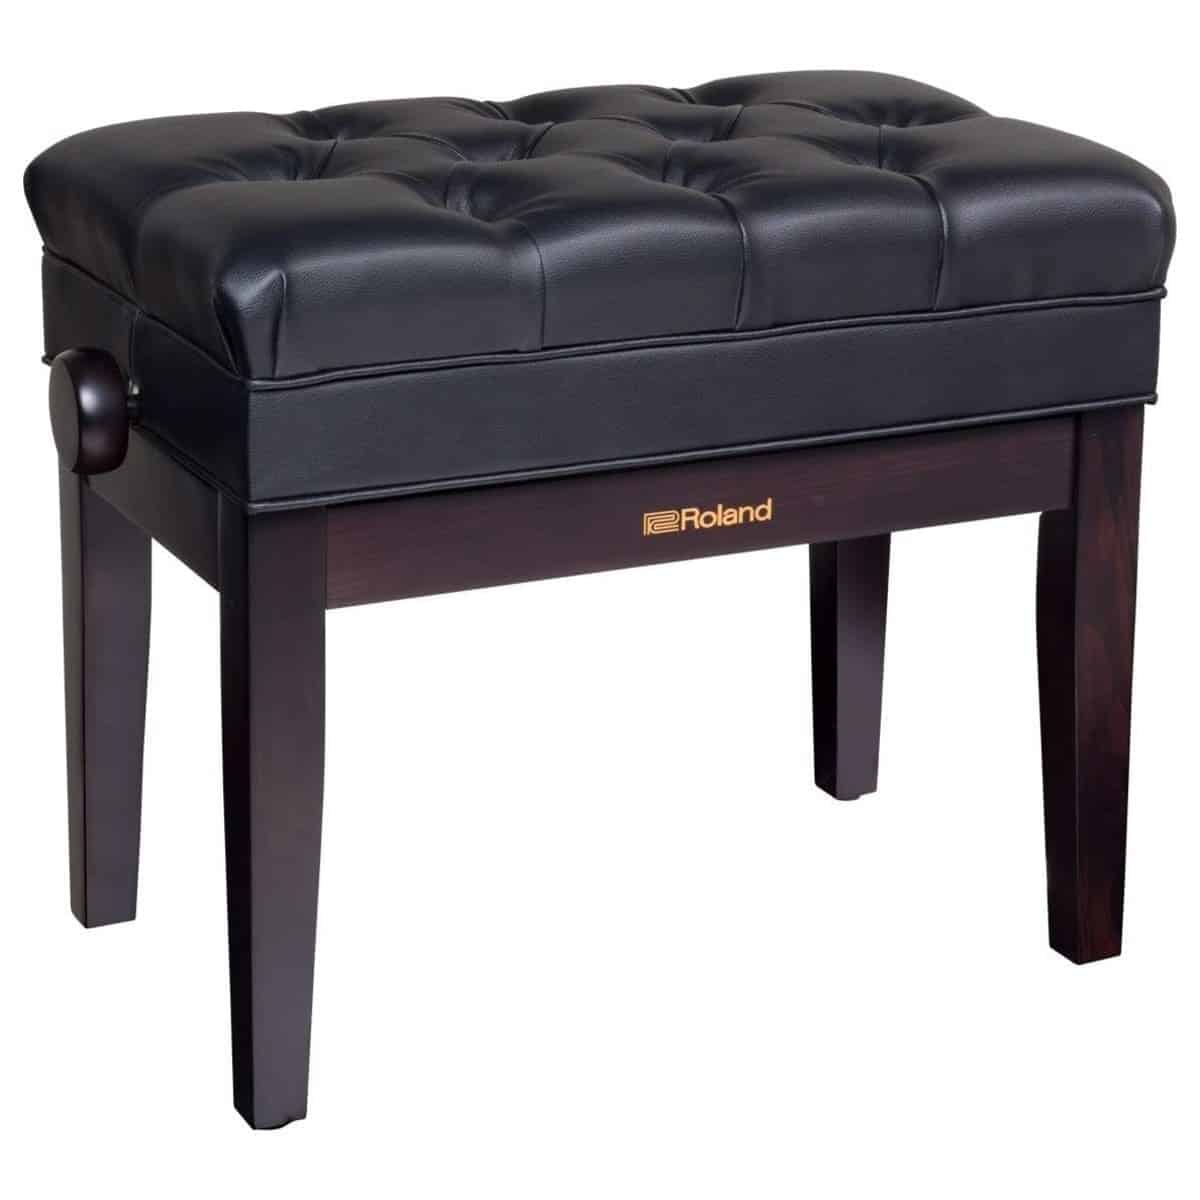
HEIGHT ADJUSTABLE: Yes
KEY CHARACTERISTICS: Durable and stable Roland bench, with a 4-inch height-adjustable mechanism and superior cushioning.
FEATURES: The vinyl seat hides a storage compartment.
9/10
Roland RPB-500RW Piano Bench
When you check the price above, you’ll see there are loads of great places to buy this item. Our personal favorite is Gear4music.
It is the largest music retailer in the UK and fast becoming the most respected online music shop in the US too. Their customer service is excellent, they have competitive prices, really fast shipping, and usually have the longest guarantee.
Most professional musicians use Gear4music, so there is no reason why you shouldn’t too!
PROS
- Stable structure and adaptable
- Superior cushioning
- Storage compartment
CONS
- Fairly pricey
The TedScore™ is our unique system of scoring products.
The professional musician who wrote this article combined many things,
from the product build, manufacturer’s reputation through to feedback
from other users, to create our famous TedScore™.
The professional musician who wrote this article combined many things,
from the product build, manufacturer’s reputation through to feedback
from other users, to create our famous TedScore™.
Bonus Tips...
Sight Reading
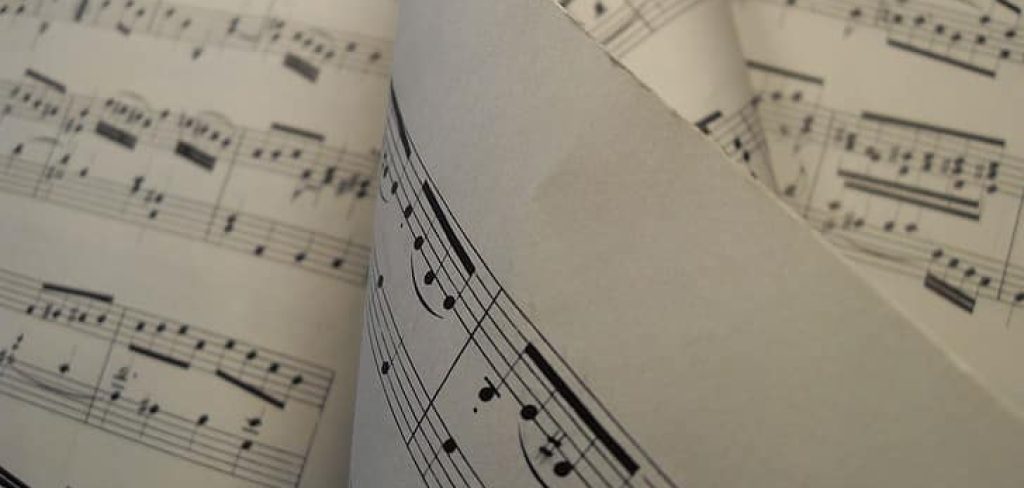
If you can, you should try and sight-read every time you practice.
When sight-reading, it’s advised that you read something just under your current playing level. This way, it’s a challenge, but not too much of a challenge…
Just don’t fall into the trap of reading something that’s too easy – your sight-reading won’t improve if everything is a walk in the park!
And I know this sounds obvious, but remember; for it to be sight-reading; it needs to be a piece of music you have never seen or practised before.
Fingering
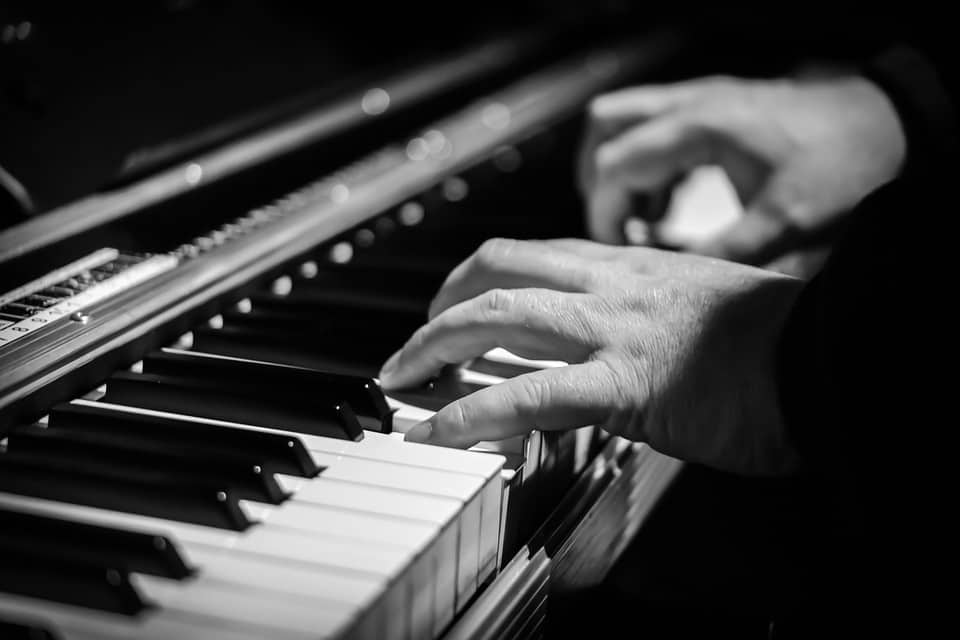
Most people underestimate the importance of fingering.
Fingering is what allows you to play as fast as you need. Your brain learns through creating neurons. The more times you repeat an action – precisely the same action – the more ‘hard-wired’ that neuron becomes, and the more your body and brain can do something on ‘auto-pilot’.
The key here is PRECISELY the same. If you don’t know your fingerings, each time you come to play something, you’ll choose a random array of what finger plays what. This is not building a strong neuron – it’s building unpredictability.
Play through passages slowly and note on the sheet music the best fingering that feels comfortable. This, of course, goes back to your scales and arpeggios!
You’ll soon find you are naturally creating sensible fingering, that if you practice without leaving it to chance, you’ll be successfully flying around the keyboard in no time.
Improve Your Piano Technique - Summary
Most things in life work well when you take the time to plan them. Playing piano, and improving your technique, is no different. Challenge yourself on a daily basis – and remember that building a strong technique is the foundation of your playing. The time taken here will make your life easier down the road…
About the Author
Robert Emery
Robert Emery is Founder & CEO of Ted's List. He has performed all around the world as a conductor and pianist. From Sydney Opera House to the Royal Albert Hall, Robert has enjoyed bouncing around on stage in most of the major venues in the world. As a record producer, he has worked on fifteen No 1 albums, and hopes he can get to sixteen asap!
The Times called him 'the eccentric barefooted maestro' and the Mail quoted that 'the assured baton was controlled by the rather energetic and brilliant conductor'.
Robert has a wife (Mrs. E), two children (Master T and Master A) and four cats (Merlin, Mulberry, Partridge & Penguin). Between performing, producing, composing and running Ted's List, he runs an entertainment business called The Arts Group, comprising of a symphony orchestra, choir, live event production house, digital TV company and artist agency. Any spare time is usually devoted to sleep.
Other posts by this author
Get the 4 Things I’ve Been Loving, Using and Reviewing
Instruments, Gadgets, Books and More…
Every Friday, I send out an exclusive email with the four most amazing things I’ve reviewed or used that week.
It could include exclusive giveaways or chances to interact with me, instruments, books, gadgets, music, new techniques/tricks, and — of course — all sorts of fun musical stuff I dig up from around the world.
These ‘4-Feature Friday’ emails are only available if you subscribe to my e-mail newsletter.
Read the next post in this series:


