Improve Your Viola Technique
The most important thing is to boost your viola technique...
Curious about improving your viola skills? Technique stands as the cornerstone of any great performer. It’s a piece of cake to spot an exceptional viola player by their marvellous technique. Without it, greatness on the viola is as distant as the horizon. In this bit of our Beginner’s Guide to Learning the Viola, you’ll find tips to boost your skills in a breeze.

Daily Exercises
Many exercises are essential to gain a proper technique. Once you master these exercises, you’ll be able to play almost anything. That sounds like a grand statement – but don’t underestimate the word ‘master’!
If you work enough, you’ll be able to look at a section of music and be confident enough to learn it quickly. For each exercise, there is a specific way to practice it. Your practice is only as good as your form while you practice. So be disciplined about it, as practising exercises wrong is a complete waste of time! We have three key exercise categories that will help you…

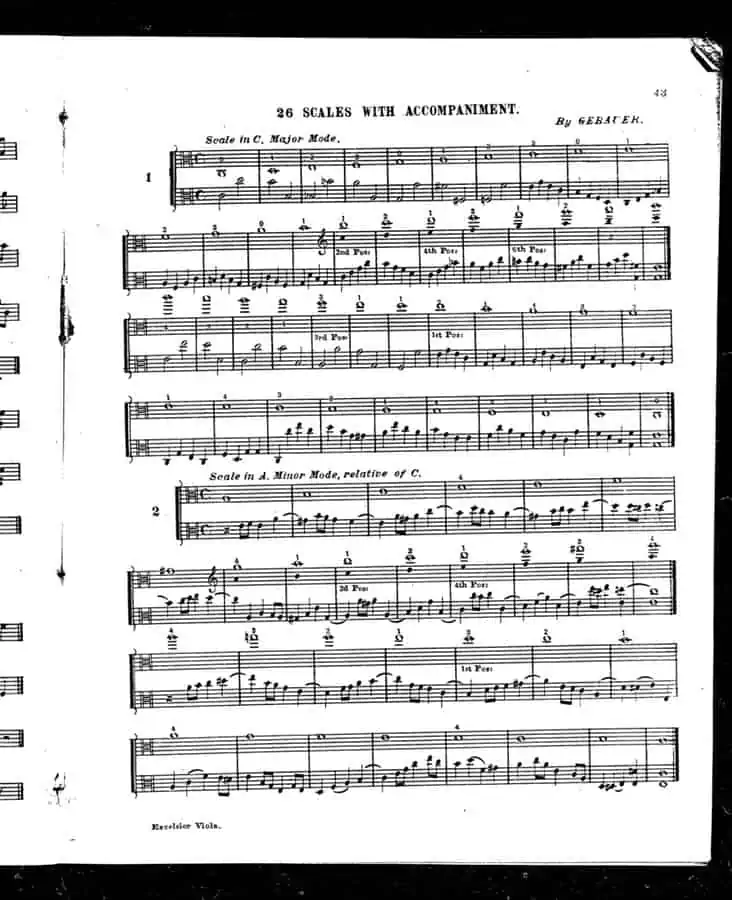
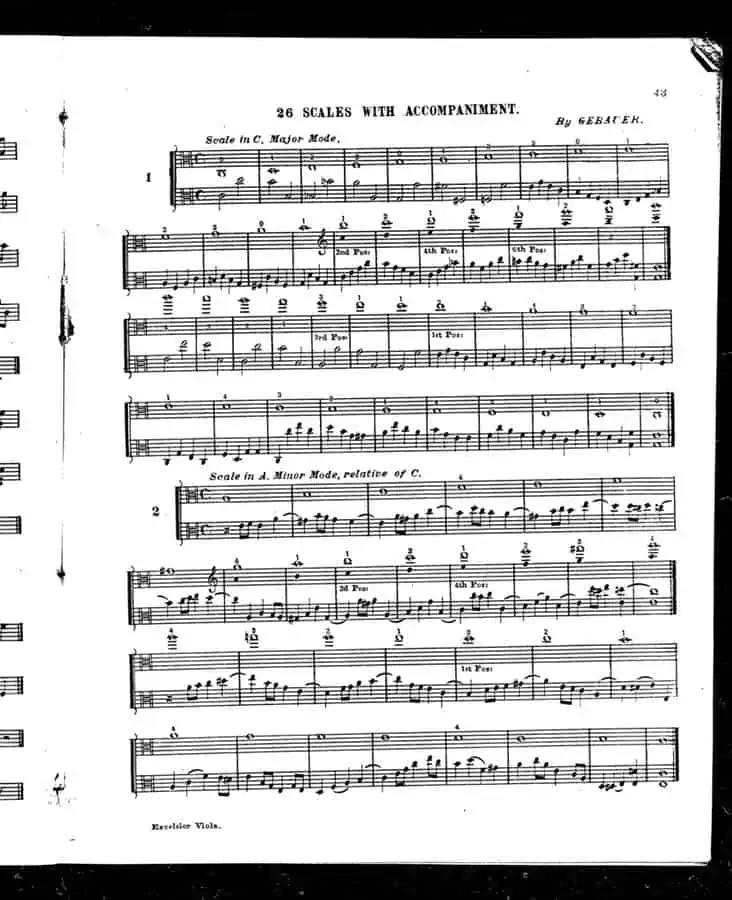
1. Scales
Scales are those things that all musicians love to hate, especially when starting out. So what happens when a child becomes a professional musician? Why do they suddenly forget their hatred for scales and enforce it on their students?
Possibly because scales are the one thing that can make or break you as a viola player. Almost every melody is made up in parts, from a scale. Almost every harmonic progression is built around scales. So you may not realise it, but listening to music means listening to many different scales. That means playing music means playing many different scales. It really is that important.
By knowing your scales well, your muscle memory will instinctively know what scale is part of each melody – and you’ll be able to play it easier and more accurately knowing this.
Every piece is set in a ‘key’. Every key has a different number of sharps or flats, and to start with it can be tricky to remember all the configurations. Scales help with this; every scale is different BECAUSE of the sharps and flats, so once you know the scales, you should know the keys. This then gives you a sixth sense where you can feel your way around the fingerboard, and know which notes are likely to be right, and which are likely to be wrong.
Have you ever seen someone sightread a complicated piece and wondered ‘how did they do that?’ The answer is patterns. When reading music, we end up reading a series of patterns, not each individual note.

2. Arpeggios

The second most common tool in compositions is arpeggiated figures. Look at any melody; you’ll see either a mini-scale or a mini-arpeggio. Just like scales, if you know your arpeggios well, you’ll already know all these little snippets before you even practice the piece!
3. Chords
A crucial part of playing the viola is being able to play two or more strings at a time. Playing, or ‘stopping’, two strings are known as ‘double-stopping’, whilst playing three strings is ‘triple stopping’ and so on.
Many violists find it hard to play double stops, or chords, well. This is because it involves stretching your hand across two strings and you bow must be drawn evenly across two strings, too. This can lead to poor sound quality and intonation-unless you practise your chords well!
Practise your double stops every day in your warm up time. Choose any two fingers on any adjacent strings and see if you can play them at the same time, making a beautiful sound and with good intonation.
This will ensure that you have a good foundation for playing double stops in your technique so that when you come to play them in your pieces you’ll be ready!
General Viola Technique

Wrong technique makes playing more challenging and tiring. Incorrect seat positioning or posture can cause pain in the shoulders, neck and back. Awkward hand positions can give you stiff fingers and limit your dexterity.
Fixing a bad technique can be tricky, so it’s essential to acquire good habits from the start.
Posture
It can be easy, when practising regularly, to let your posture deteriorate. Perhaps it’s because you’re feeling tired after a long day, or because you’re so busy thinking about your fingering but, either way, you’ve allowed yourself to lean forward during your practise.
This might not seem like a big deal at the time, but you may wake up the next morning with pains in your back or neck. These can be common in viola players, as the instrument is heavy to hold for a long time. This means you must ensure that your posture is good every time you play.
There are 3 times to check your posture:
Before you play – Even before you start playing, ensure that you’re standing straight and that you’re not tensing any part of your body. Think of yourself as an airline pilot – you must perform your checks before you take off!
During your playing – As you’re playing think ‘Am I standing well? Am I balanced? Am I tensing any part of my body? If the answer to any of these questions is ‘yes’, then adjust during your playing and see how much it transforms your sound. Remember, the tension in your body equals tension in your sound.
After your playing – Once you’ve finished playing a section take a moment to notice your posture before you relax into the rest position. You may notice that you were off-balance during that section you’ve just practised, in which case play it again with better posture.
If you can remember to perform these ‘posture checks’ before, during and after your playing then you’ll notice that you feel much more comfortable in your playing and your technique will improve, too!
Left hand position
Your left-hand technique is one of the most important weapons in your viola players’ arsenal. A good left hand can mean that you can play fast passages effortlessly, or create a beautiful vibrato to complement your sound. A tight or lazy left hand can hinder your playing greatly.
Firstly, ensure that your fingers are curved and that your thumb is not gripping the viola. This will aid the playing of fast sections by removing tension in your hand.
Next, check that your wrist is relaxed and that there is space in between it and your fingerboard. You don’t want to play with a raised wrist, as this will stop your fingers going down on the fingerboard in the right place and cause tension in your arm.
Lastly, practise placing your fingers on each string. To avoid lazy fingers, place them as firmly as possible and remove them as quickly as you can. Your fingers should resemble hammers on a piano; always going down in the same place as firmly and reliably as possible.
Bonus Tips...
Sight Reading
If you can, you should try and sight-read every time you practice. Spending a few minutes on a sight reading exercise each day will really aid your general playing.
When sight-reading, it’s advised that you read something just under your current playing level. This way, it’s a challenge, but not too much of a challenge…
Just don’t fall into the trap of reading something that’s too easy – your sight-reading won’t improve if everything is a walk in the park! Challenge yourself if you’re finding something straightforward and push yourself to find out what the most difficult piece you can sight-read effectively is.
And I know this sounds obvious, but remember; for it to be sight-reading; it needs to be a piece of music you have never seen or practised before.
Fingering
Most people underestimate the importance of fingering.
Fingering is what allows you to play as fast as you need. Your brain learns through creating neurons. The more times you repeat an action – precisely the same action – the more ‘hard-wired’ that neuron becomes, and the more your body and brain can do something on ‘auto-pilot’.
The key here is PRECISELY the same. If you don’t know your fingerings, each time you come to play something, you’ll choose a random array of what finger plays what. This is not building a strong neuron – it’s building unpredictability.
Play through passages slowly and note on the sheet music the best fingering that feels comfortable. This, of course, goes back to your scales and arpeggios!
The same can be said for knowing which position you’re playing in at any time. There might be a passage which you sometimes play in 1st position on the A string, but other times in 3rd position on the D string. Find which position sounds the most effective when you play it, write it in your music and stick to it,
You’ll soon find you are naturally creating sensible fingering, that if you practice without leaving it to chance, you’ll be successfully flying around the fingerboard in no time.
Improve Your Viola Technique - Summary
Most things in life work well when you take the time to plan them. Playing the viola, and improving your technique, is no different. Challenge yourself on a daily basis – and remember that building a strong technique is the foundation of your playing. The time taken here will make your life easier down the road…
About the Author
Mark Gibbs
My name is Mark and I’ve been playing the viola since I was ten years old. I studied at the Royal College of Music in London for four years. Since then, I’ve played with Rod Stewart at the Brits, played with the likes of Katherine Jenkins and travelled all over the world, doing what I love!
In my spare time, I love learning languages. I’ve been learning German for several years now and speak some Czech, too. I also enjoy studying maps, as well as playing and watching football.
Other posts by this author
Uncover These Fascinating Things
As regular as I read my morning newspaper, I send out an email to you with the four most amazing things that you absolutely have to know about.
As long as it’s music-related, it could land in the e-mail. Brand new songs, techniques, products, reviews – nearly anything at all.
You’ll only get to view the weekly email if you subscribe listed below. And we also guarantee to never, ever spam.
Read the next post in this series:


